
Integrate Zoho Expense With Zoho CRM
When you integrate Zoho Expense with Zoho CRM, it auto syncs all accounts, customers, and users with Zoho Expense. When a user is created in Zoho CRM, it is automatically fetched into Zoho Expense as a user. It helps with convenient expense reporting, analyzing spending patterns, and tracking ROI from all deals seamlessly.
Set Up the Integration
- Navigate to the Admin View.
- Go to Settings.
- Navigate to Integrations and Developer Space.
- Click Zoho Apps under Integrations.
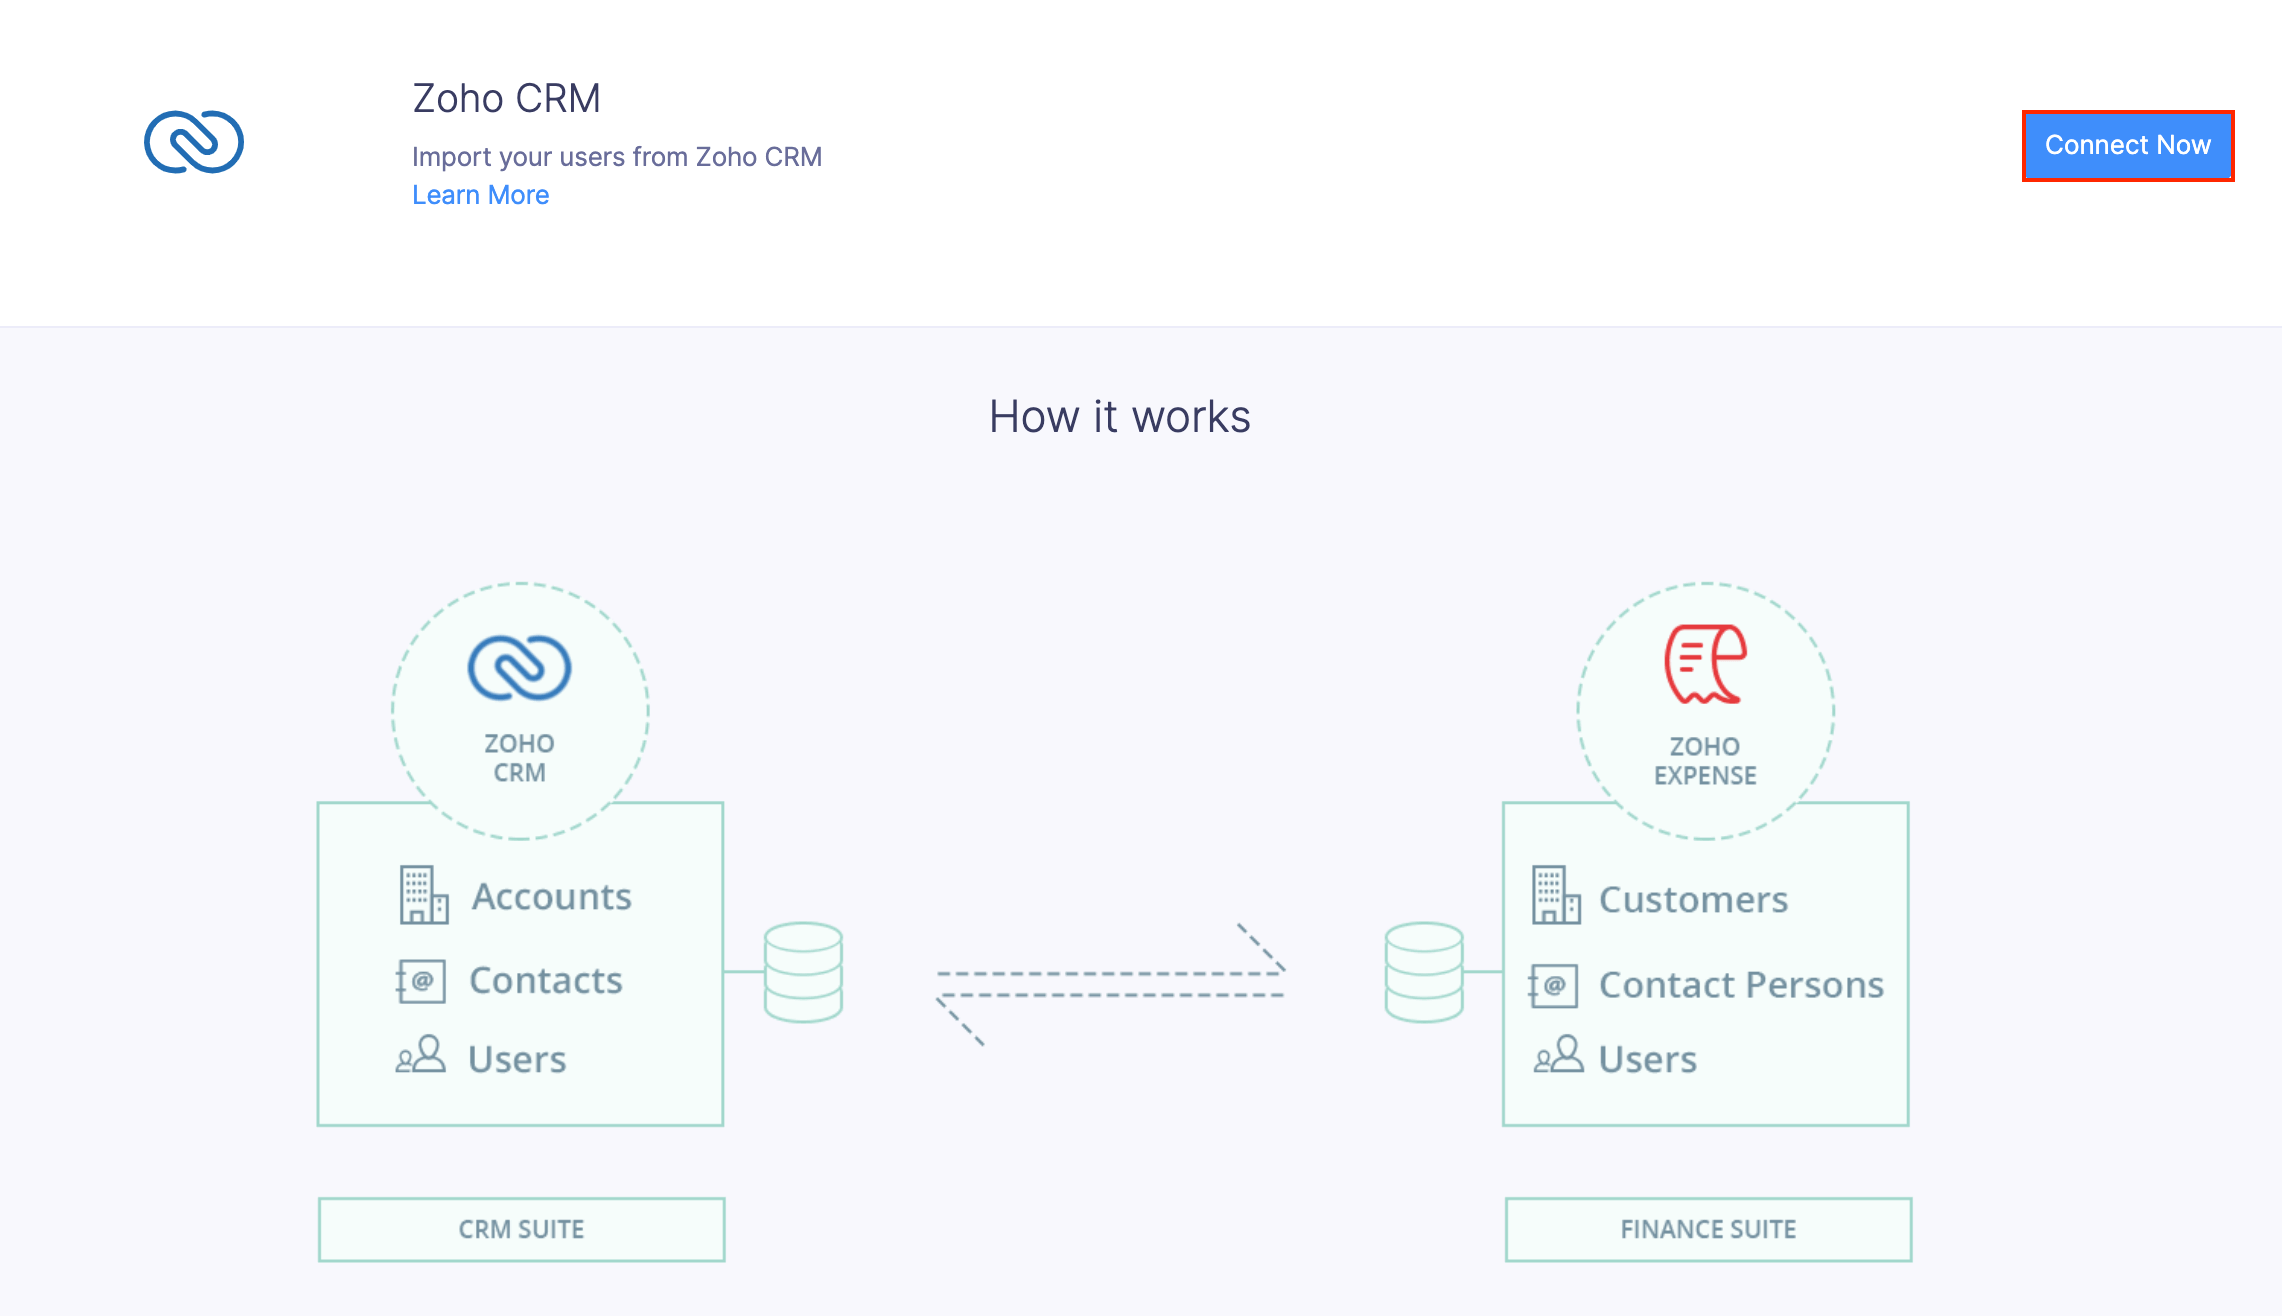
- Click Zoho CRM.
- Click Connect Now. You will be taken to the Zoho CRM integration page.
- Click Select Organisation.
- In the pop-up, select the organisation in Zoho CRM that you want to connect with this Zoho Expense organisation.
- Click Save.
Choose a Module for Sync
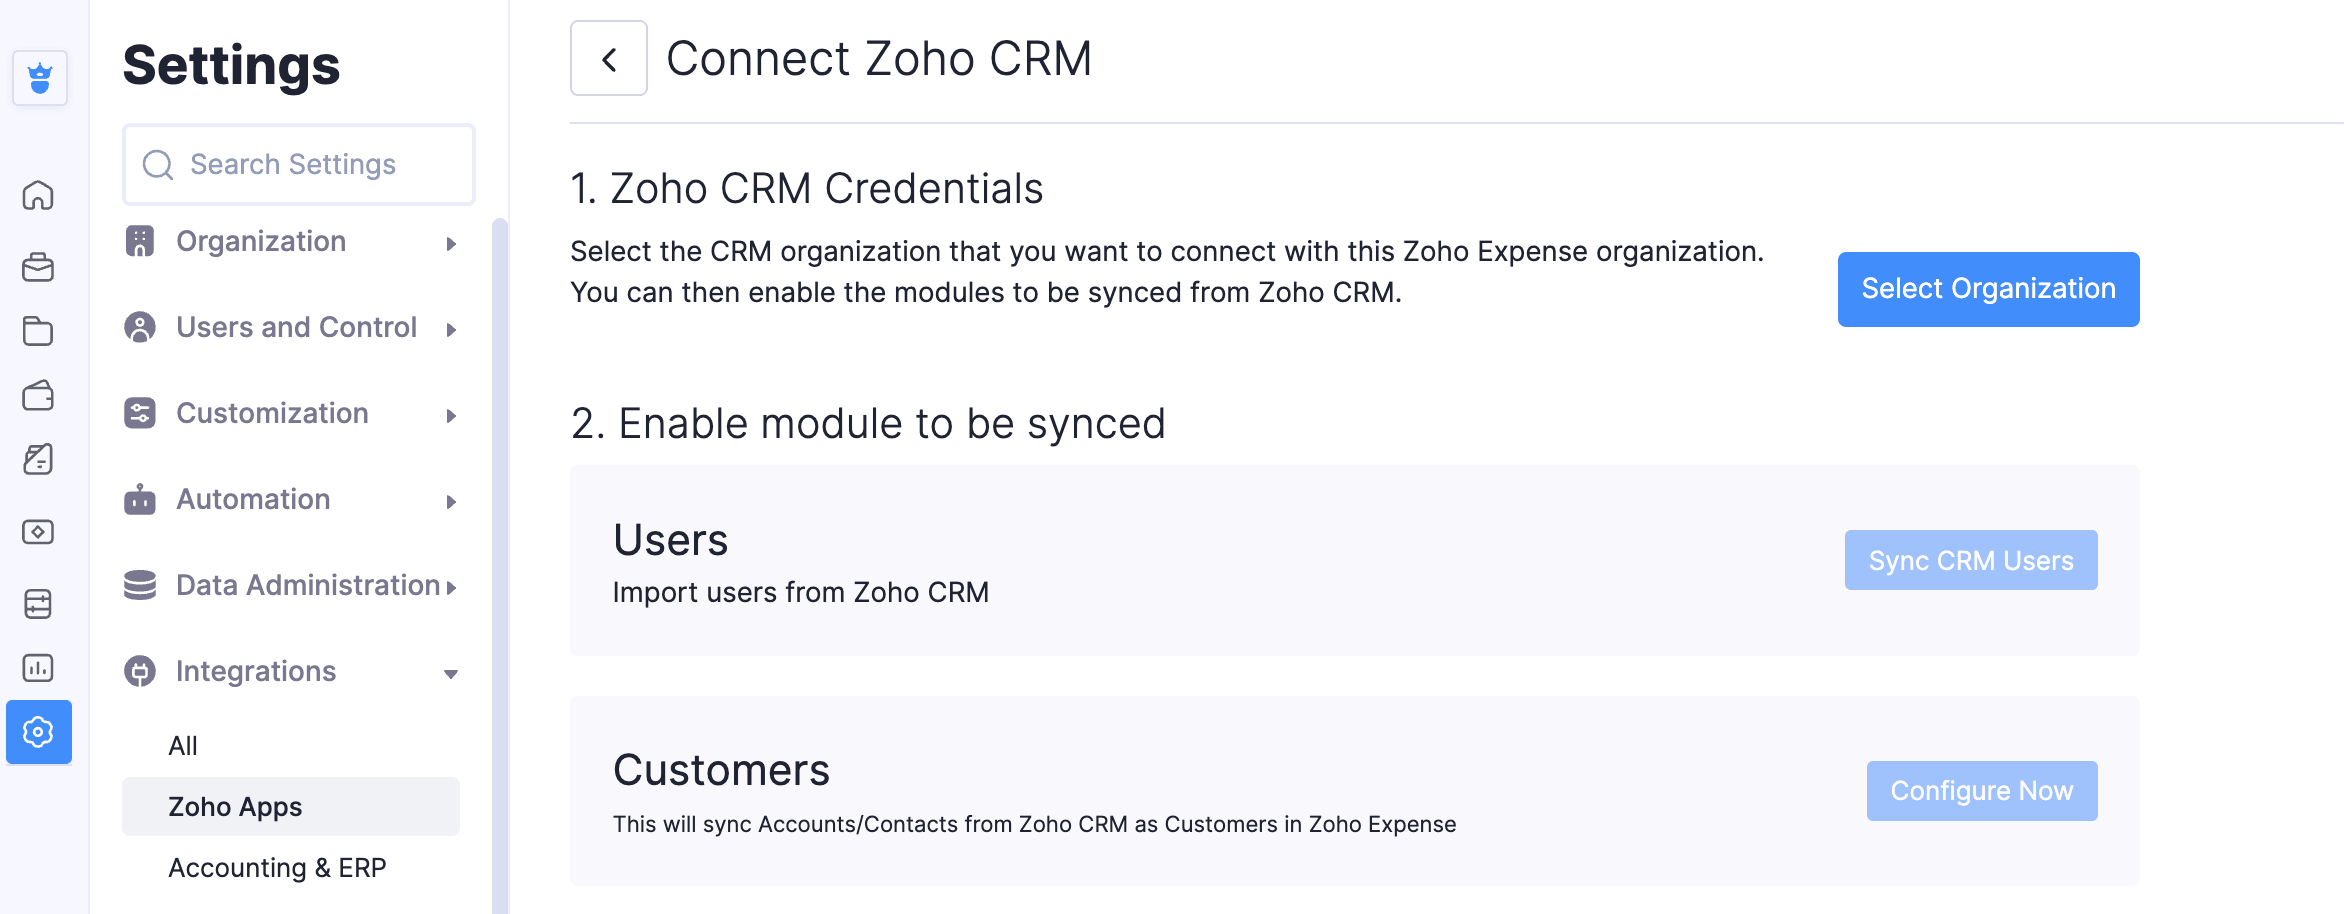
After selecting the organisation, you will have to choose the module that needs to be synced with your Zoho Expense organisation.
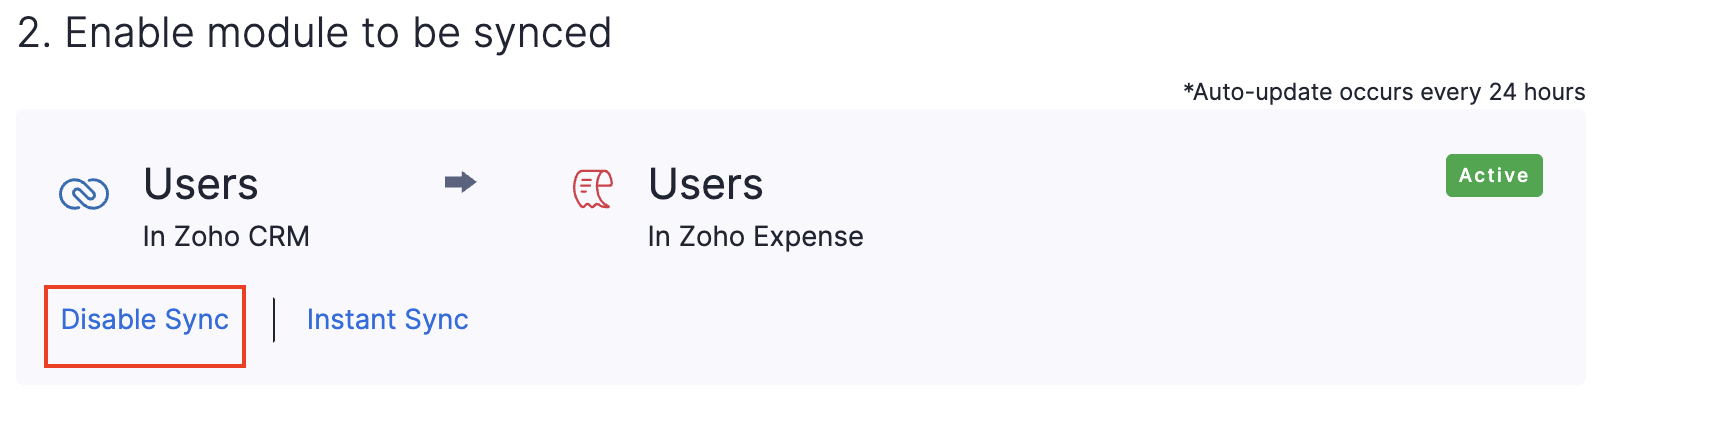
- In the Enable module to be synced section, click Sync CRM Users to import users from Zoho CRM into Zoho Expense.
- Click Confirm in the pop-up.
- Click Configure Now next to Customers. The Accounts/Customers from Zoho CRM will be imported into Zoho Expense as Customers.
- In the next page, configure the following preferences:
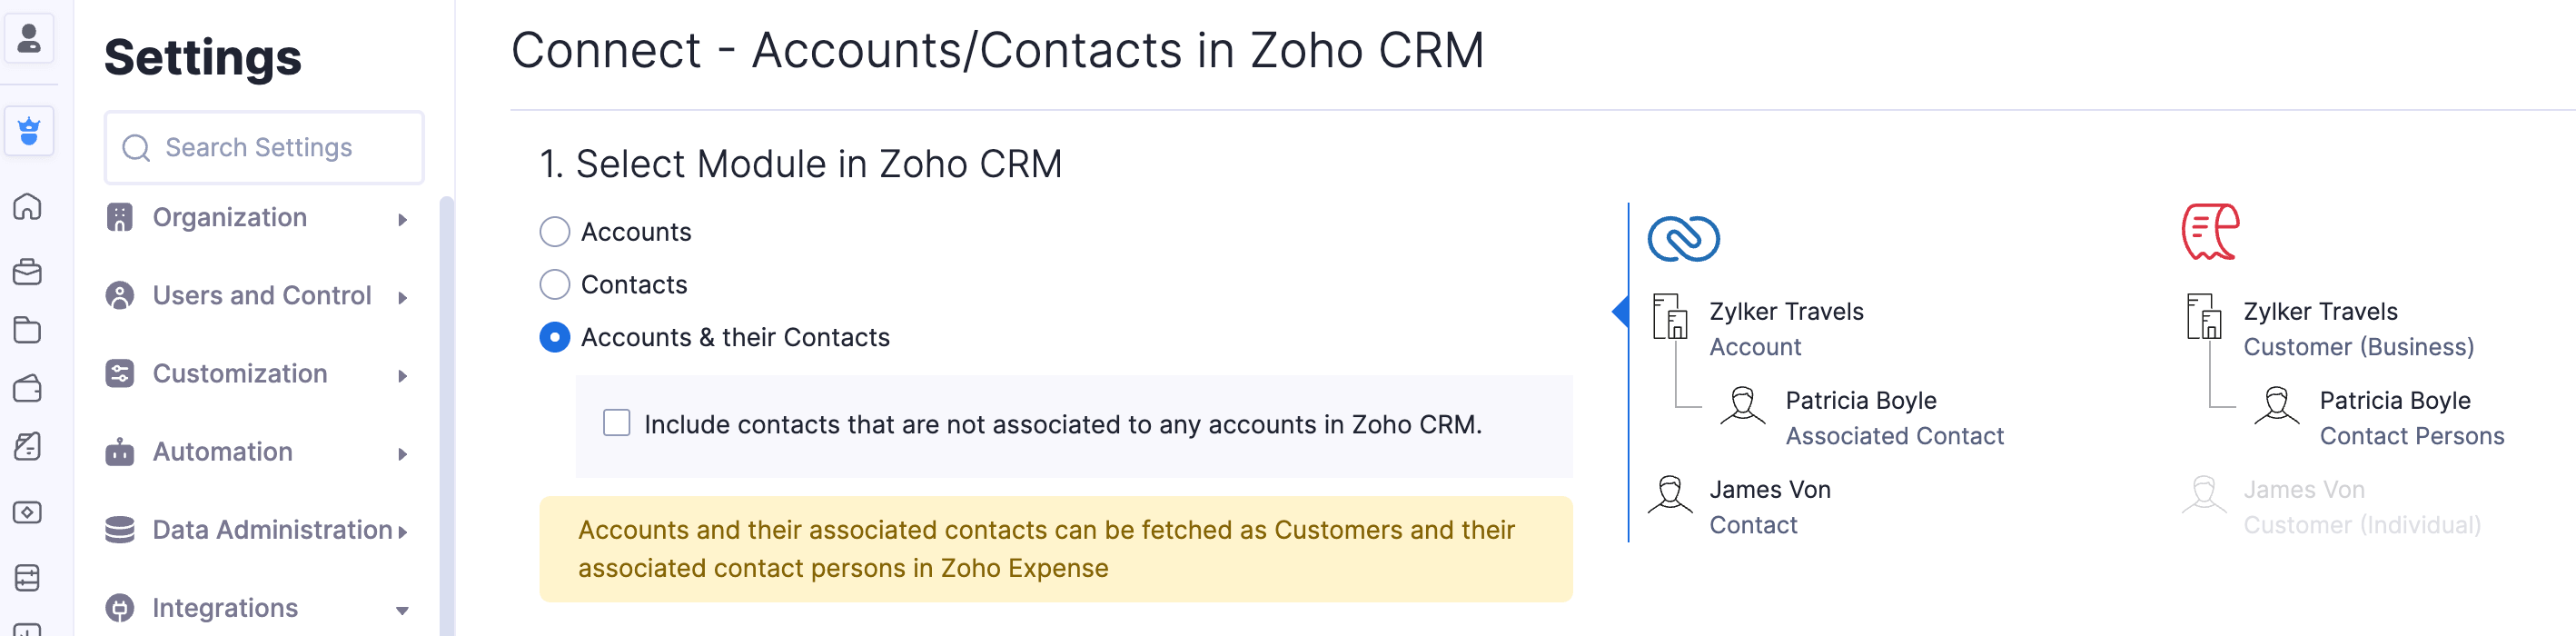
- Select Module in Zoho CRM: Select the module you want to sync between Zoho CRM and Zoho Expense.
- Accounts: The Accounts in Zoho CRM will be fetched as Customers in Zoho Expense with the Customer Type set as Business.
- Contacts: The Contacts in Zoho CRM will be fetched as Customers in Zoho Expense with the Customer Type set as Individual.
- Accounts & their Contacts: The Accounts and associated Contacts in Zoho CRM will be fetched as Customers in Zoho Expense. Check Include contacts that are not associated to any accounts in Zoho CRM to sync contacts that are not associated with an account in Zoho CRM. These contacts will be fetched as Customers in Zoho Expense with the Customer Type set as Individual.
Note: When Accounts and their Contacts option is selected, only the contacts associated with the account selected in Zoho CRM will be chosen for integration. Contacts in Zoho CRM which are not associated with any account are not synced with Zoho Expense.
Extent of the Sync
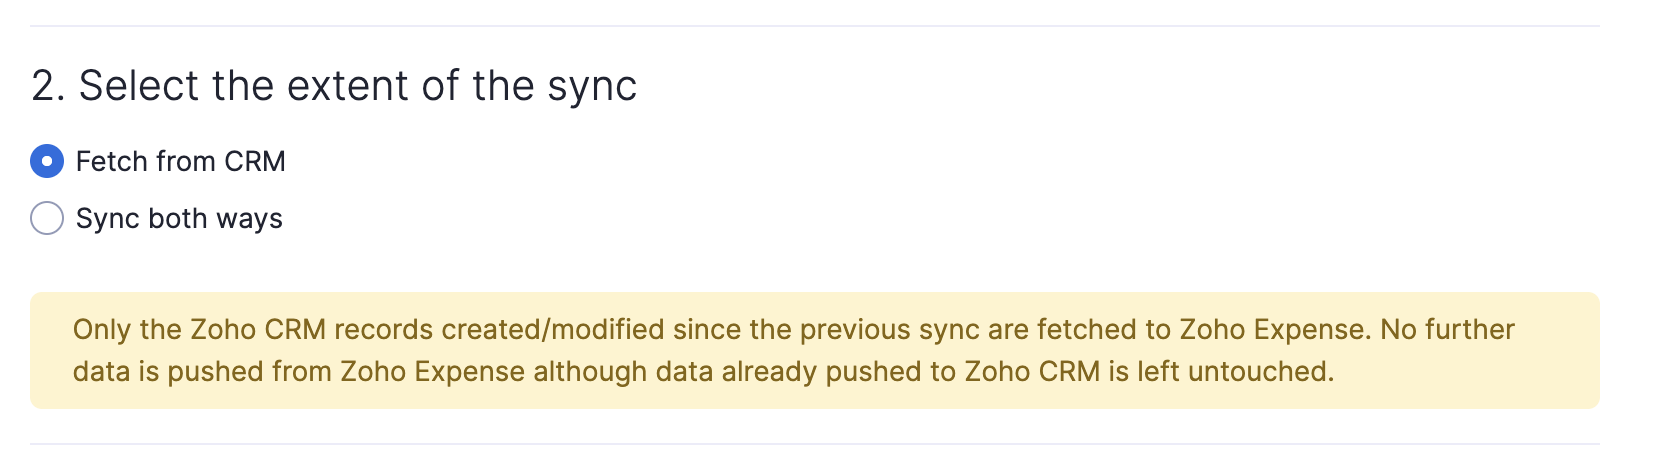
Choose how you want to sync records between both the apps.
Fetch from CRM: Zoho CRM accounts/contacts will be imported as customers in Zoho Expense. However, no Zoho Expense data will be exported to Zoho CRM.
Sync both ways: Zoho CRM accounts/contacts will be imported to Zoho Expense and vice versa.
Handle Duplicate Records
It’s possible that the account in Zoho CRM being synced already exists as a contact in Zoho Expense and in such cases, the record is said to be duplicated during the sync. You can choose what you want to do with such records,
- Clone: The record is cloned and both the original and duplicate records exist.
- Overwrite: The duplicate record overwrites the existing record.
- Skip: The duplicate record is not synced and the existing record is retained.

Note: If there are duplicates in either your Zoho CRM or Zoho Expense organisation, and the overwrite option is selected, the duplicates will be merged as a single record after sync.
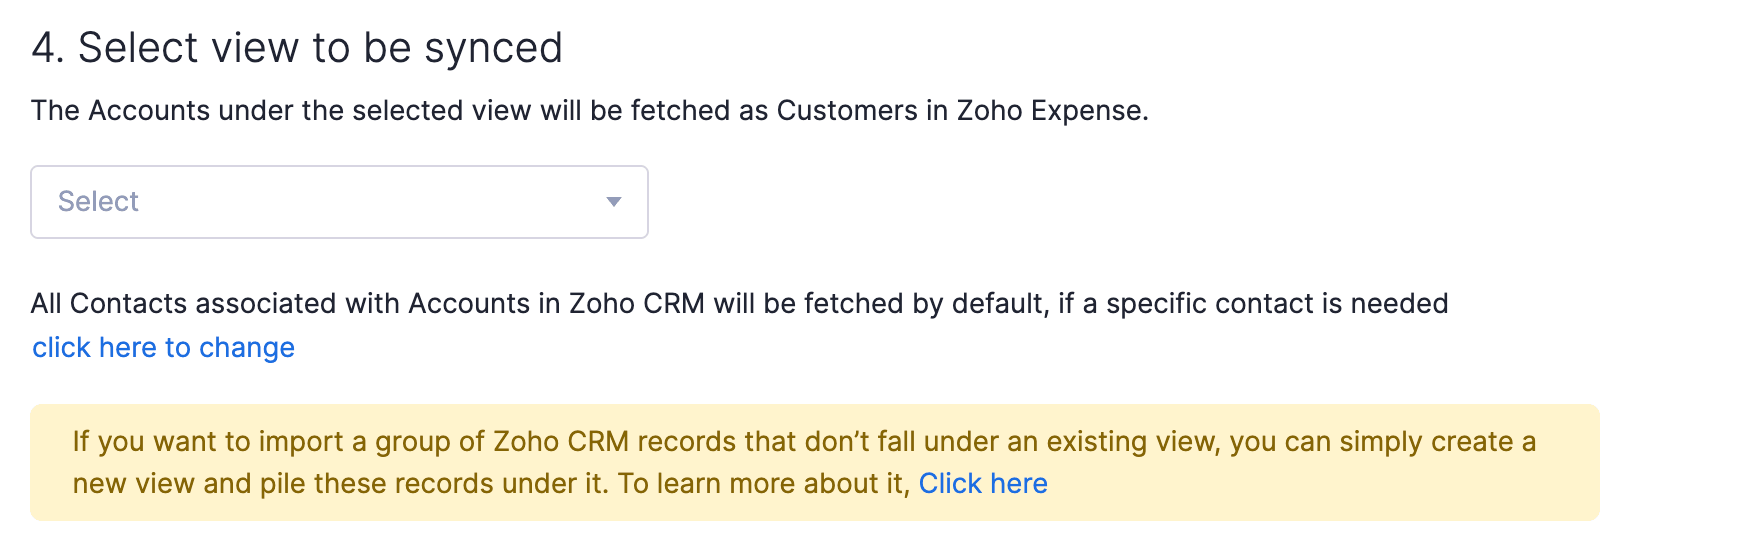
Select the View to be Synced
The next level of customisation is where you can select the View you wish to sync with Zoho Expense. A view in Zoho CRM is a collection of similar records (based on a specified criteria) listed together. Some predefined views include All Accounts, My Accounts, Unread Contacts etc.
- To sync specific records from Zoho CRM, you can create a view and sync that view into Zoho Expense.
- Select the view you wish to sync with Zoho Expense from the dropdown.
Create a View for Zoho Expense
If you want to import a few selective contacts from Zoho CRM to Zoho Expense, you can create a new view in Zoho CRM before the integration. This view can consist of the records you want to import to Zoho Expense for creating transactions. Before you create the view, you need to first add a Custom Field to the module of your choice (Accounts/Contacts)
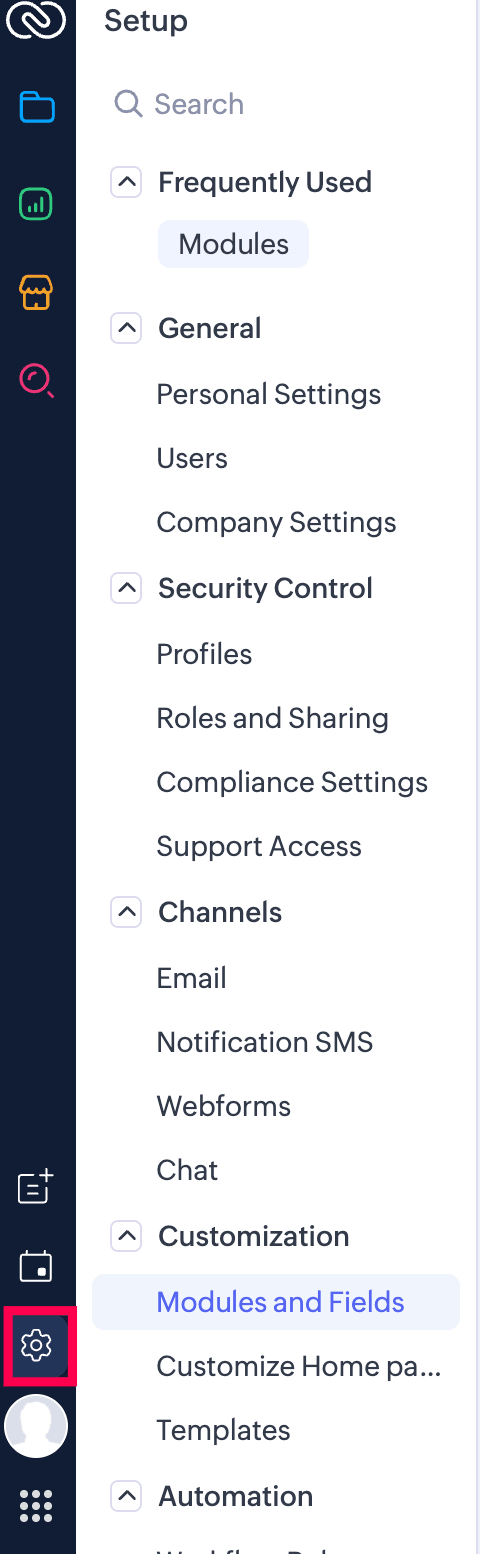
- Go to your Zoho CRM organisation, and click Setup icon on the left side bar.
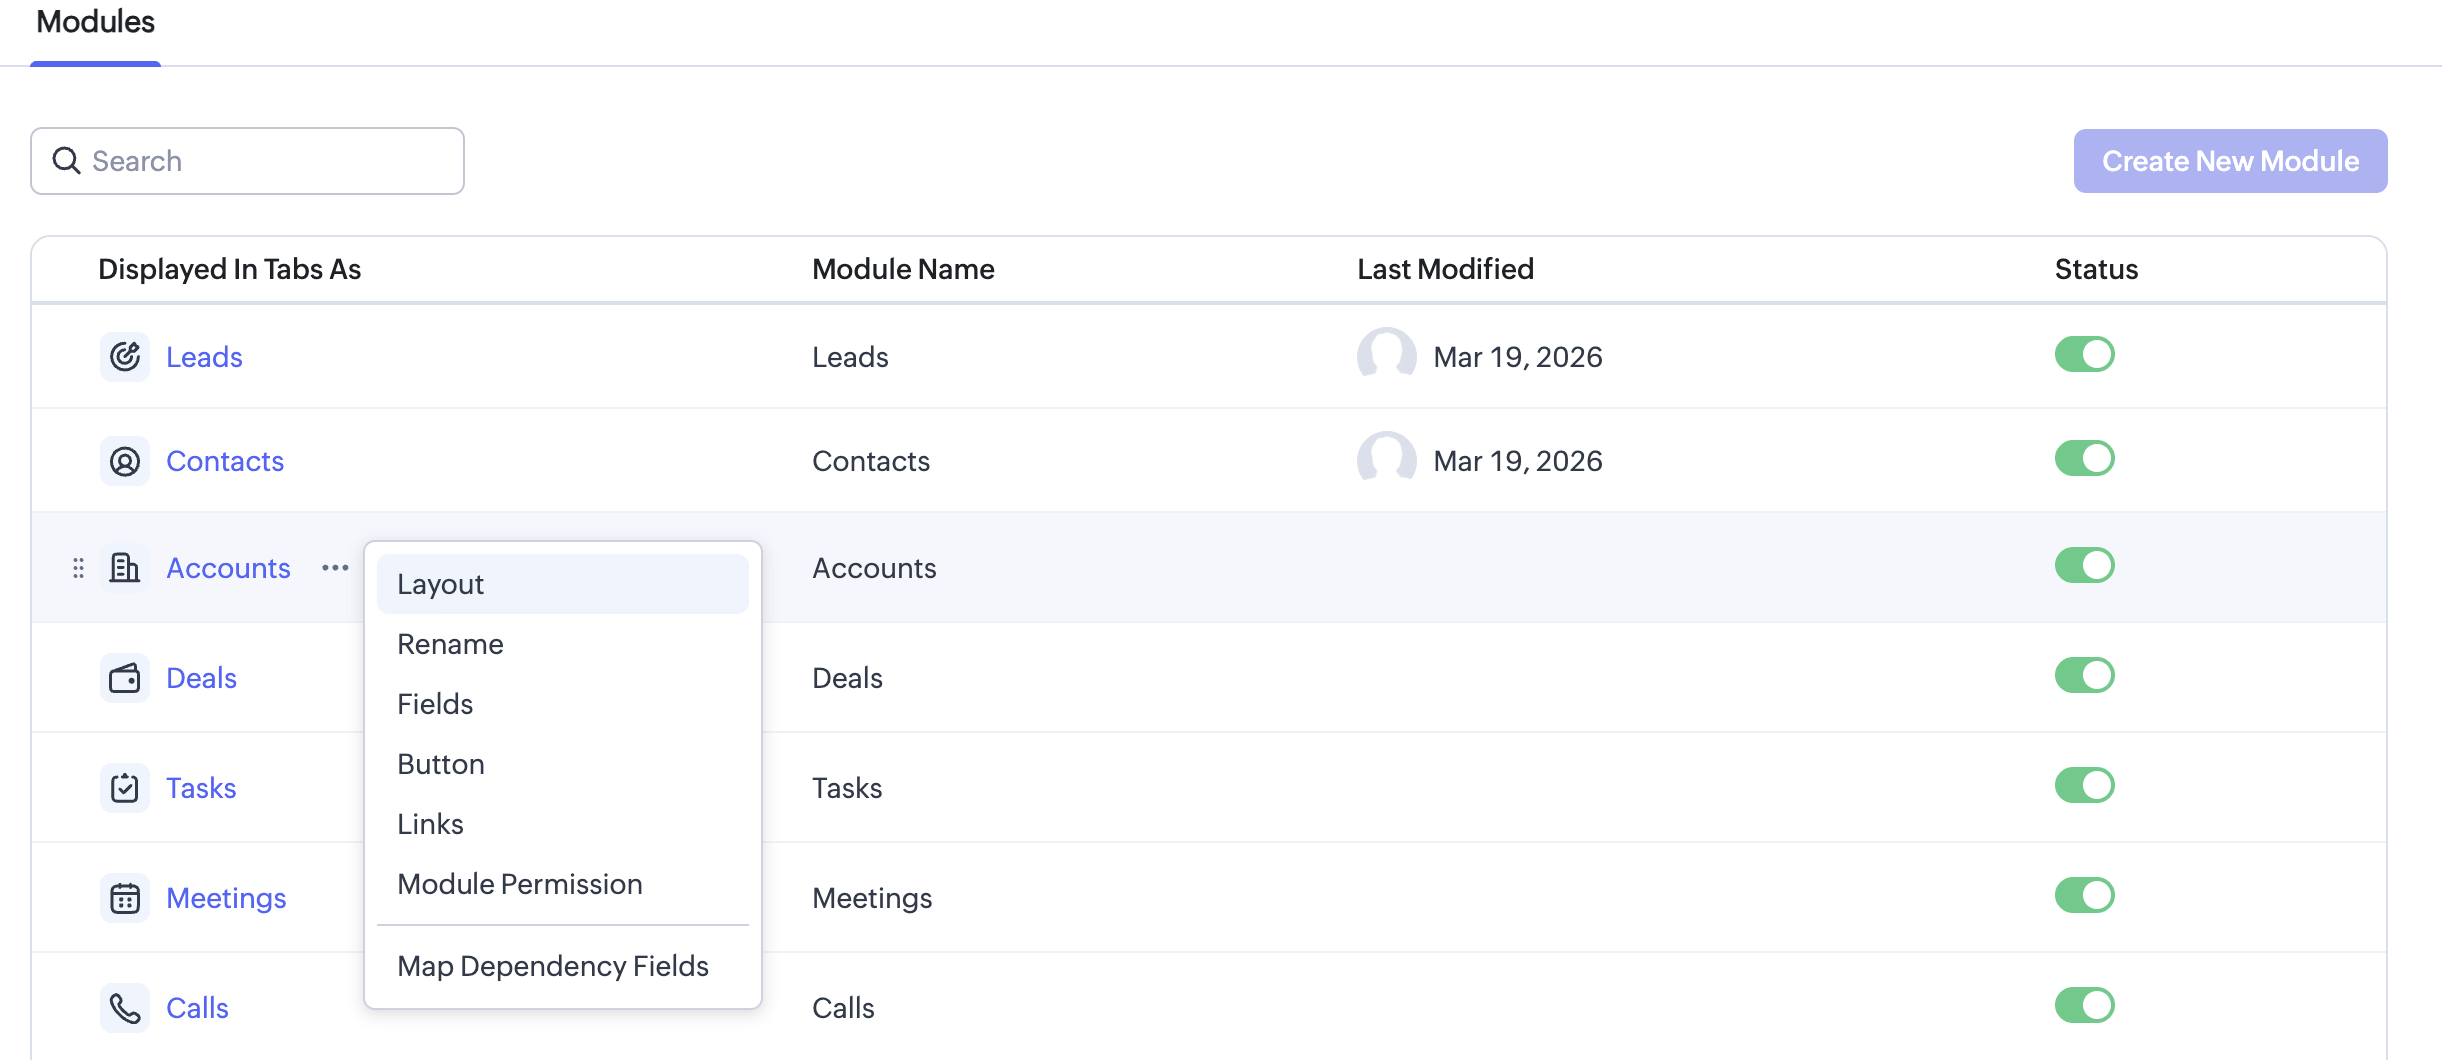
- Go to Customization > Modules and Fields, and click the module (Accounts/Contacts) of your choice.
- You will be redirected to the Layouts section. In this section, you can add custom fields of your choice.
- Just drag and drop the type of field you would like to add to the accounts page. In this case, we’ll add a checkbox to the accounts layout page and name it Zoho Expense.
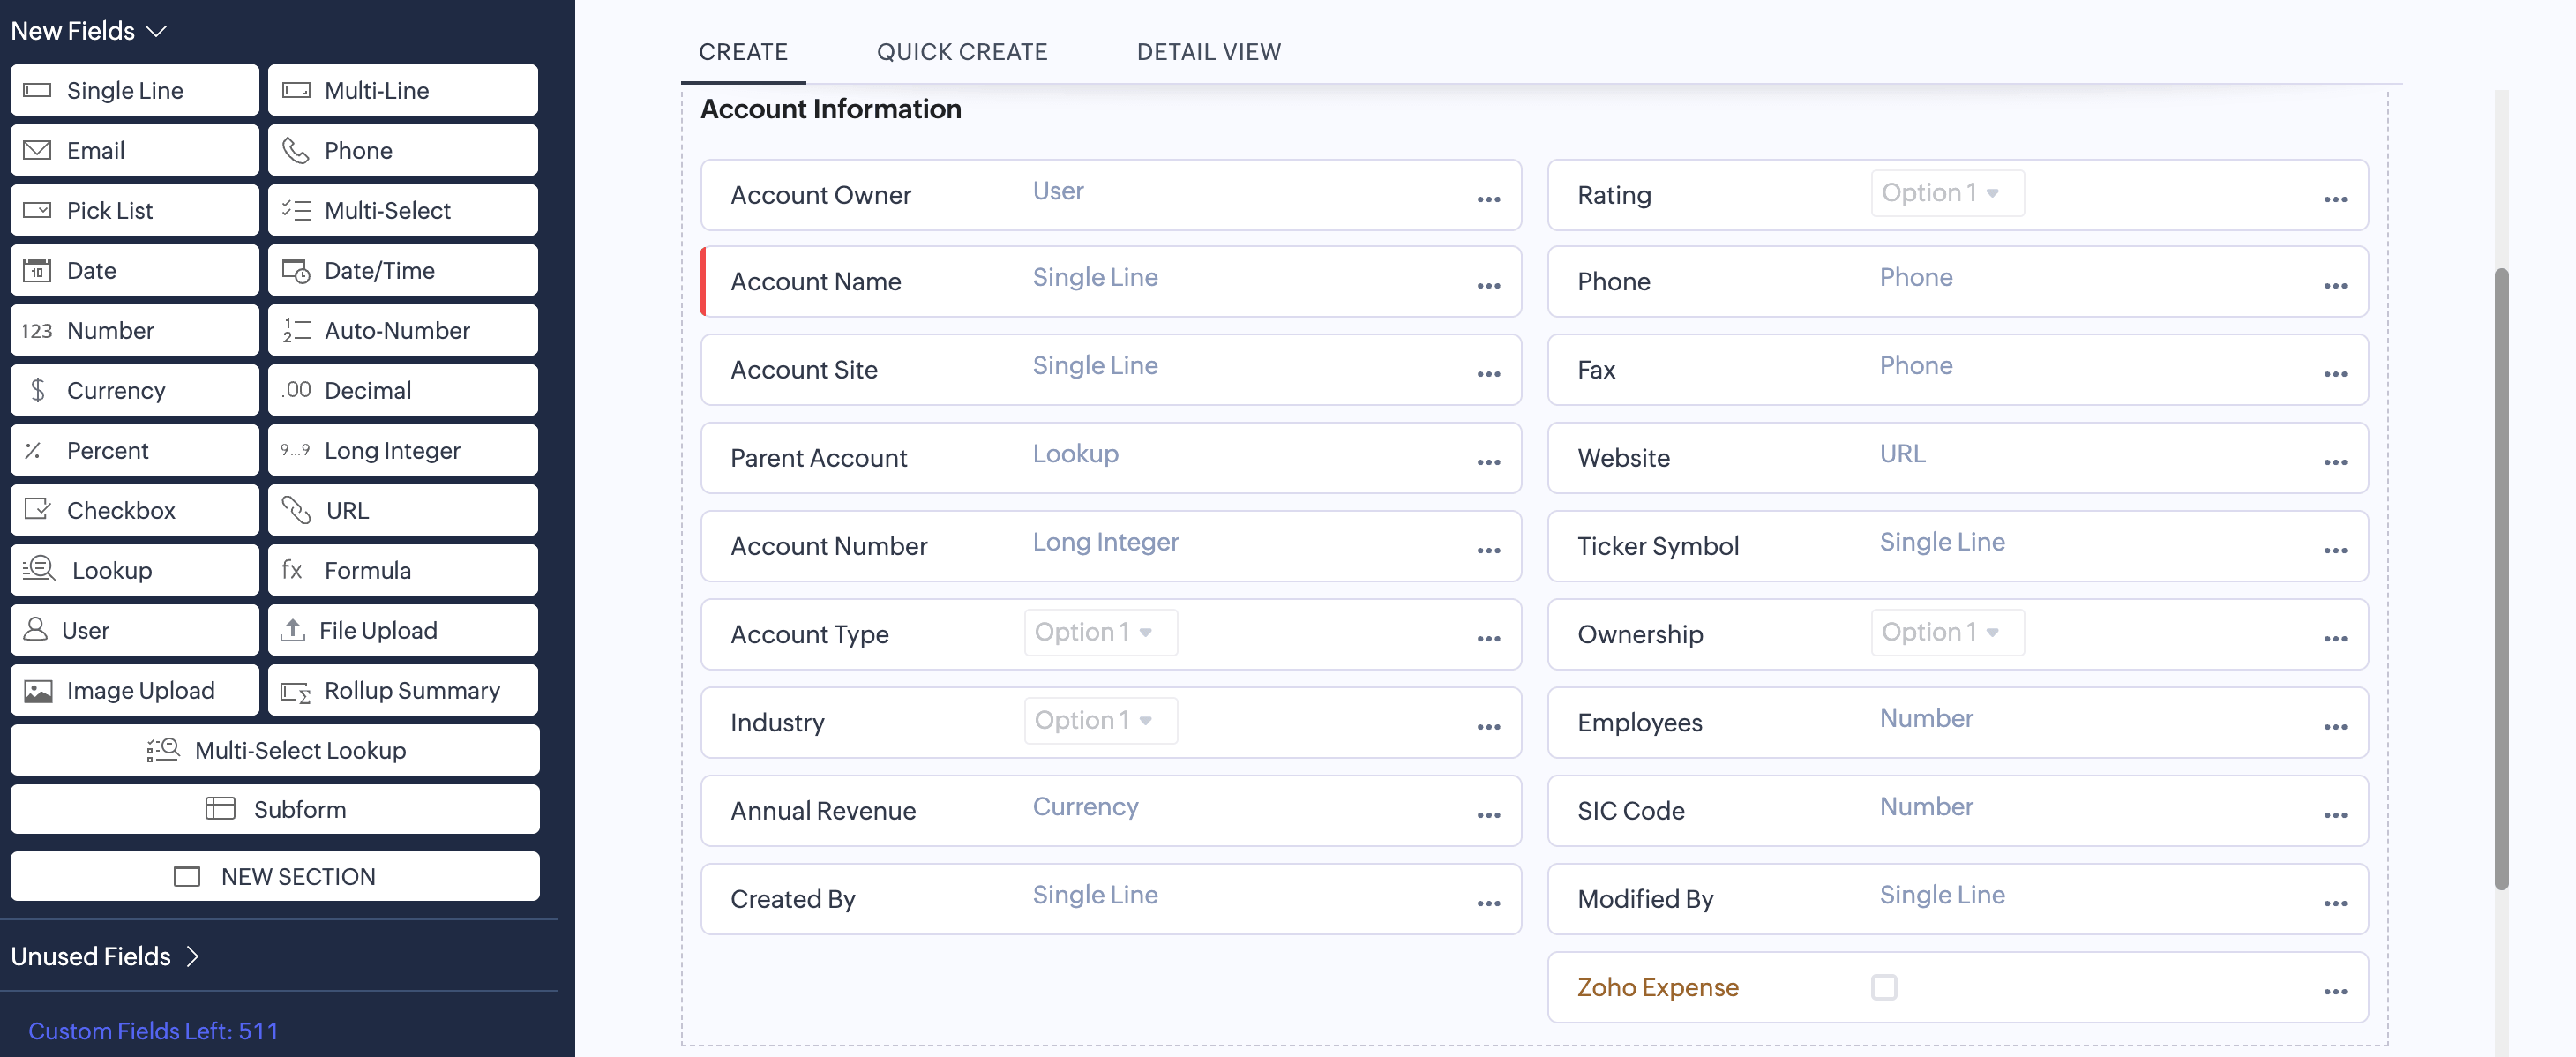
- Now, when you edit an existing account/contact or create a new one, a checkbox labeled Zoho Expense will be displayed as part of the form.
- Now, edit the accounts/contacts which you want to move to Zoho Expense, and check the box Zoho Expense in each one as shown below.
- Once this is done, create a new view under Accounts or Contacts depending on which of these modules you’ve selected for import. To learn how to create a view, click here
- Specify criteria field for the view as Zoho Expense from the drop down and set it to true. This is shown below.
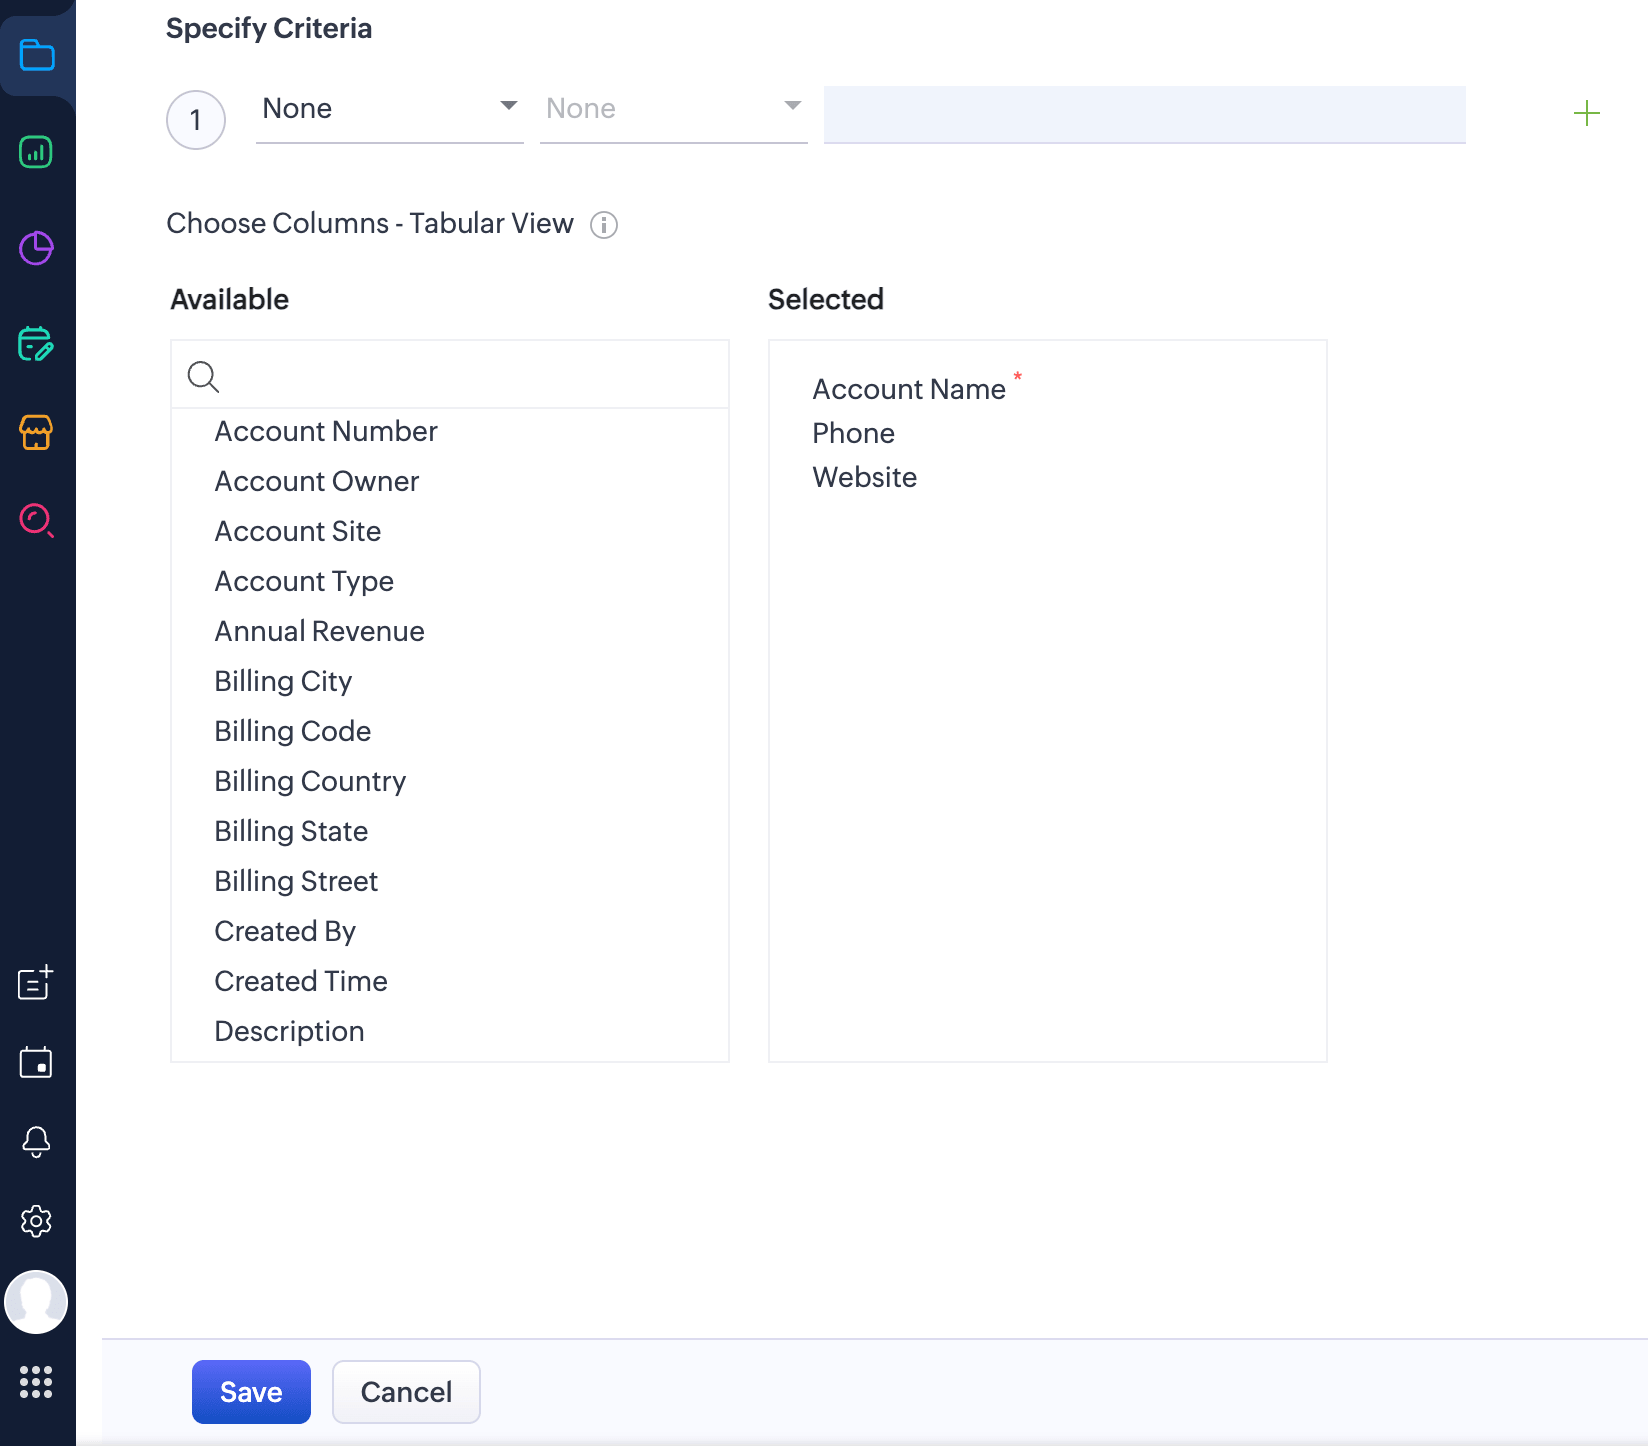
- Now, all the accounts/contacts for which this field was checked, will be available under this view. During the integration, as soon as you select the module (Accounts, Contacts or Both) to be synced, a list of the corresponding views available in Zoho CRM for the module (predefined as well as User created) will be listed under the drop-down. Select the view you created above to proceed with the import.
Note: When the option Accounts and their Contacts is selected, you have the option to select the Account view as well as the Contact view required to be synced. You can manually choose to sync only specific contacts associated with the account view selected, as shown below.
Map Fields
The final step of the integration is the mapping of fields. You can map the Zoho CRM fields to their corresponding Zoho Expense fields before setting up the sync. This manual mapping ensures that when the Zoho CRM records are synced as Zoho Expense entities, all the fields match perfectly when viewed in Zoho Expense.
Prerequisite: If you’ve enabled multi-currency in Zoho CRM, ensure that the base currency in Zoho CRM matches the base currency in Zoho Expense before mapping the fields.
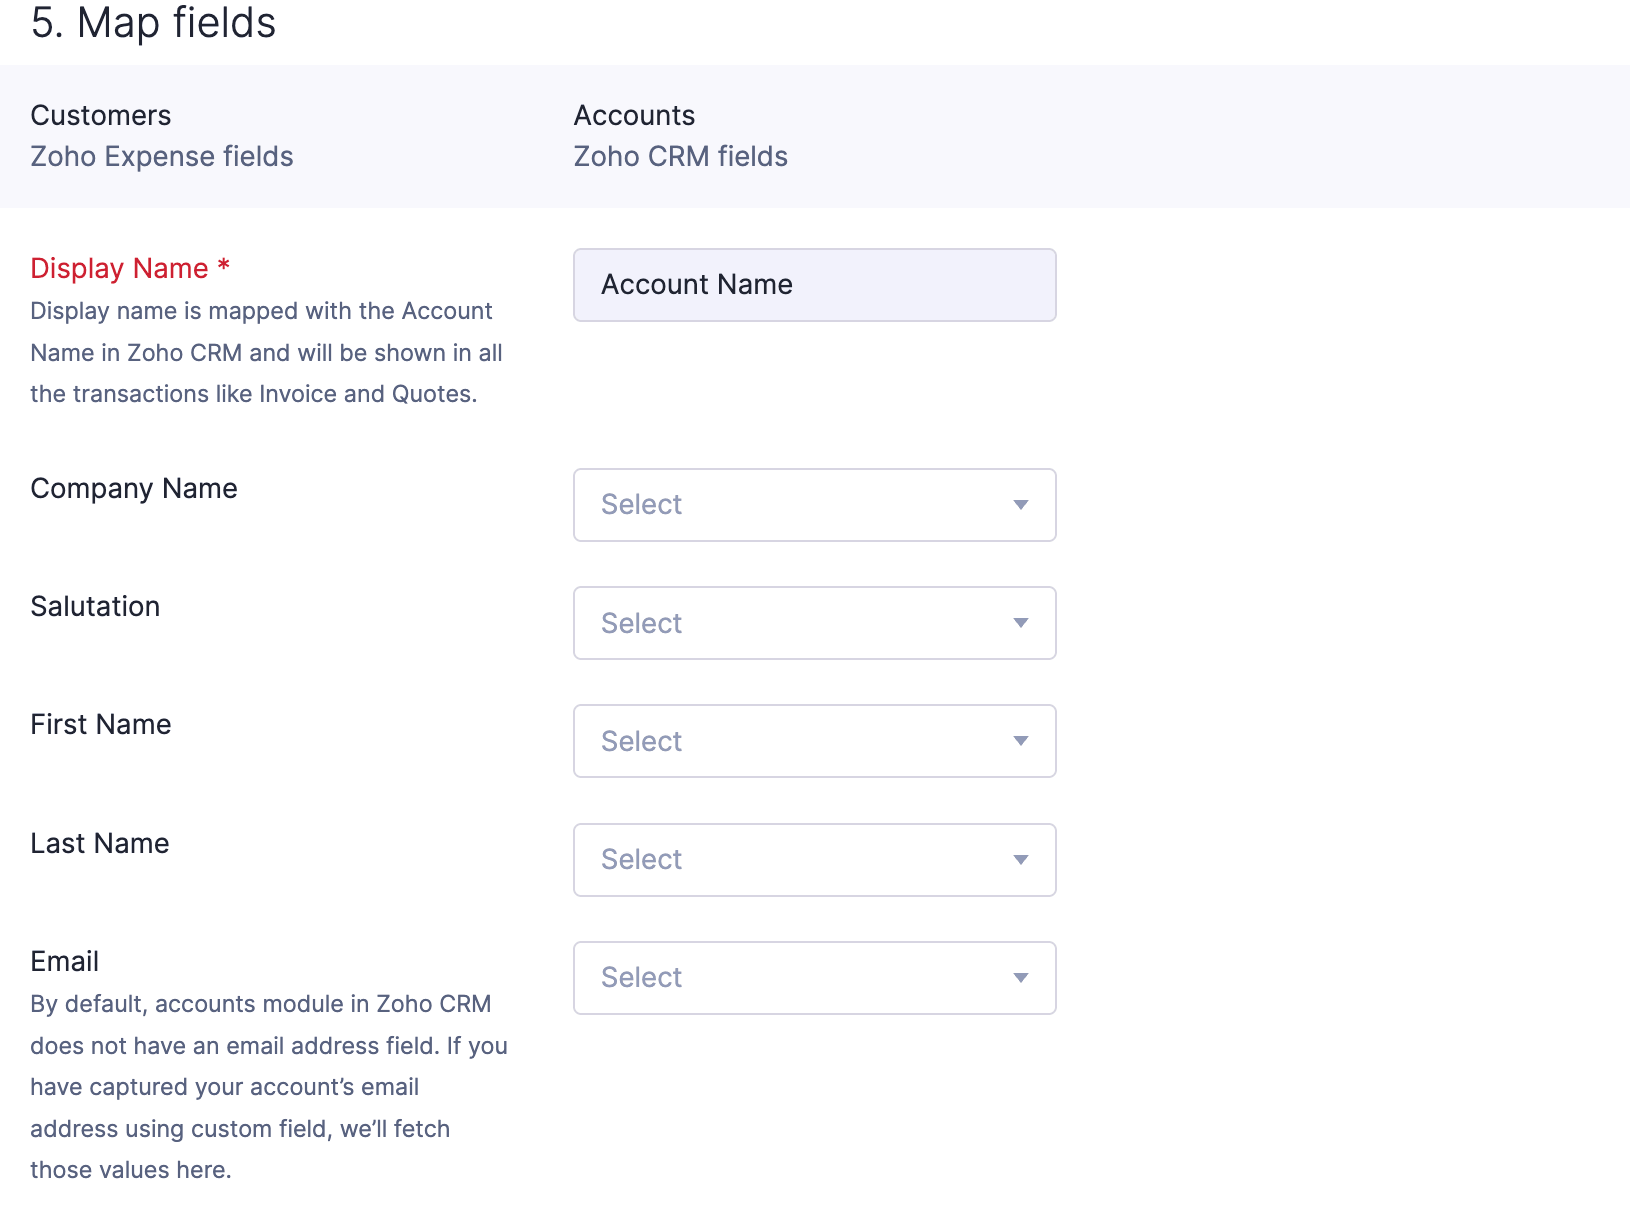
In case you have created custom fields for your contacts in Zoho CRM that don’t map to any of the default fields under Zoho Expense, please remember to create the corresponding custom fields in Zoho Expense before starting the sync. These fields will now be displayed for field mapping. The customers will be synced in a while, based on chosen preferences.
- Click Save and Sync to start the sync process, or click Save and Sync Later if you want to save the preferences now and sync the records later.
- In the pop-up, click Confirm. The customers will be synced in a while, based on chosen preferences. To check the status of the sync, click Check Status under the Customers section.
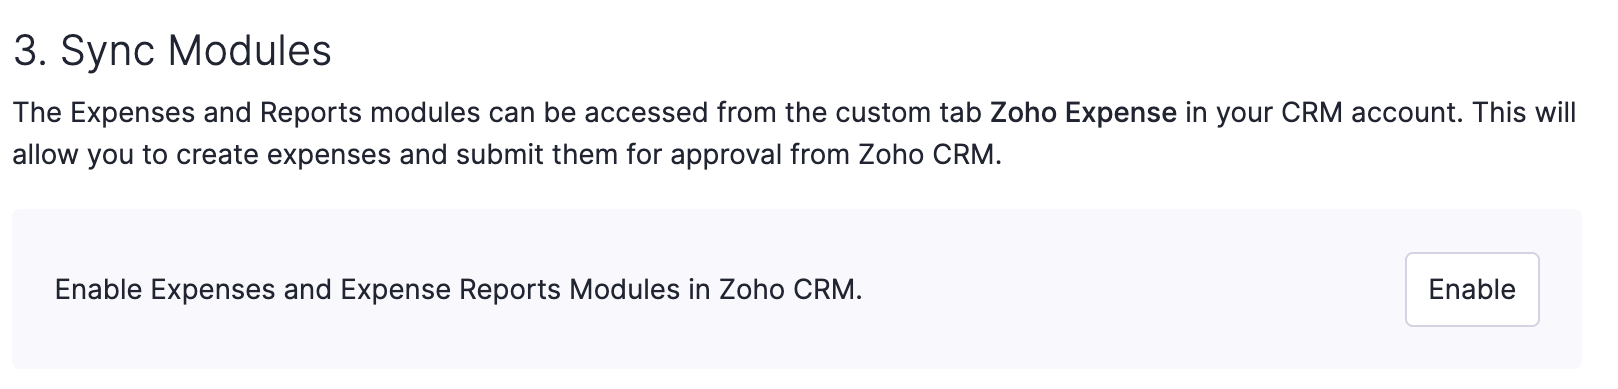
Sync Modules
In this section, you can enable the Expenses and Reports modules in Zoho Expense and access them from your CRM account. This will allow you to create expenses and submit them for approval from Zoho CRM.
- Navigate to the Admin View.
- Go to Settings.
- Navigate to Integrations and Developer Space.
- Click Zoho Apps under Integrations.
- Click Show Details on the Zoho CRM card.
- Scroll down to the Sync Modules section.
- Click Enable.
- Click Check Status under the Customers section to check the sync status. The Expenses and Expense Reports modules will now be available in Zoho CRM under the custom tab Zoho Expense.
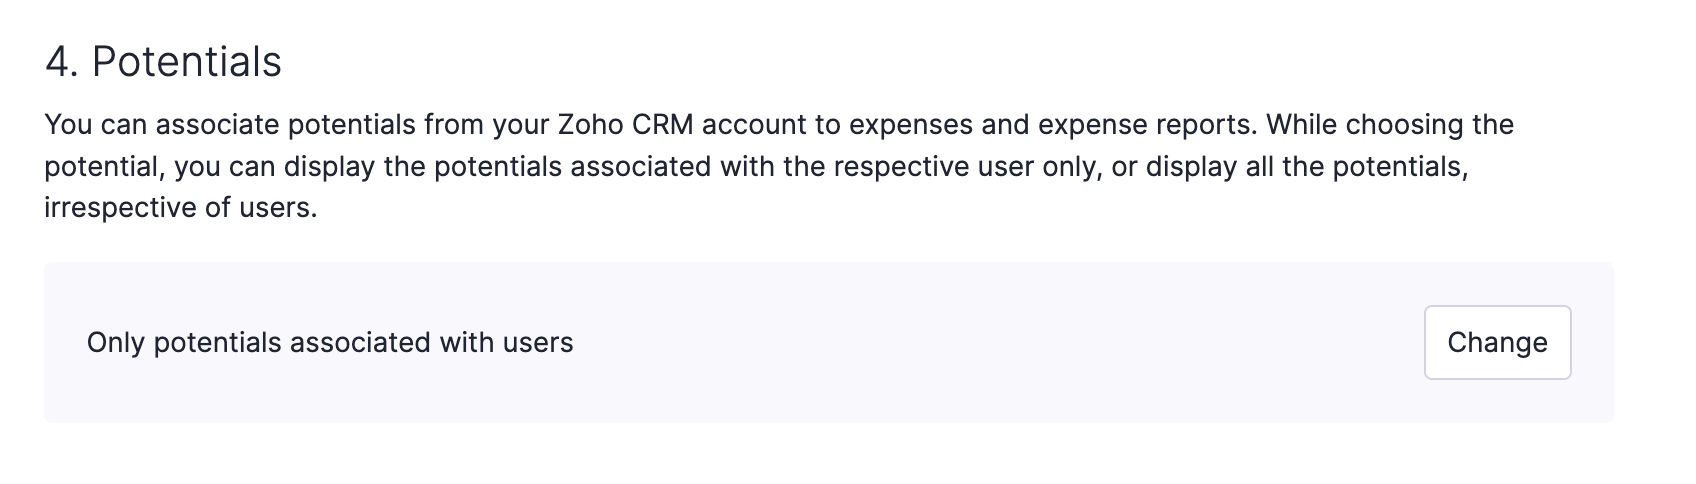
Potentials
Associate potentials from your Zoho CRM account to the Expenses and Reports modules.
- Navigate to the Admin View.
- Go to Settings.
- Navigate to Integrations and Developer Space.
- Click Zoho Apps under Integrations.
- Click Show Details on the Zoho CRM card.
- Scroll down to the Potentials section.
- Select either Only potentials associated with users to display the potentials associated with the respective user or All potentials to display all the potentials, irrespective of users. You can update the option later by clicking Change under the Potentials section, if required.
Search in Zoho CRM
If you’ve completed the integration, the contacts you imported will be displayed in Zoho Expense. However, you can also create a transaction for a contact that you did not import from Zoho CRM. While selecting a customer for a new transaction (for example, Expenses), an option Search in Zoho CRM is listed under Customer. You can select any Zoho CRM contact from here. Now, this contact is automatically fetched to Zoho Expense and can be viewed and updated from here.
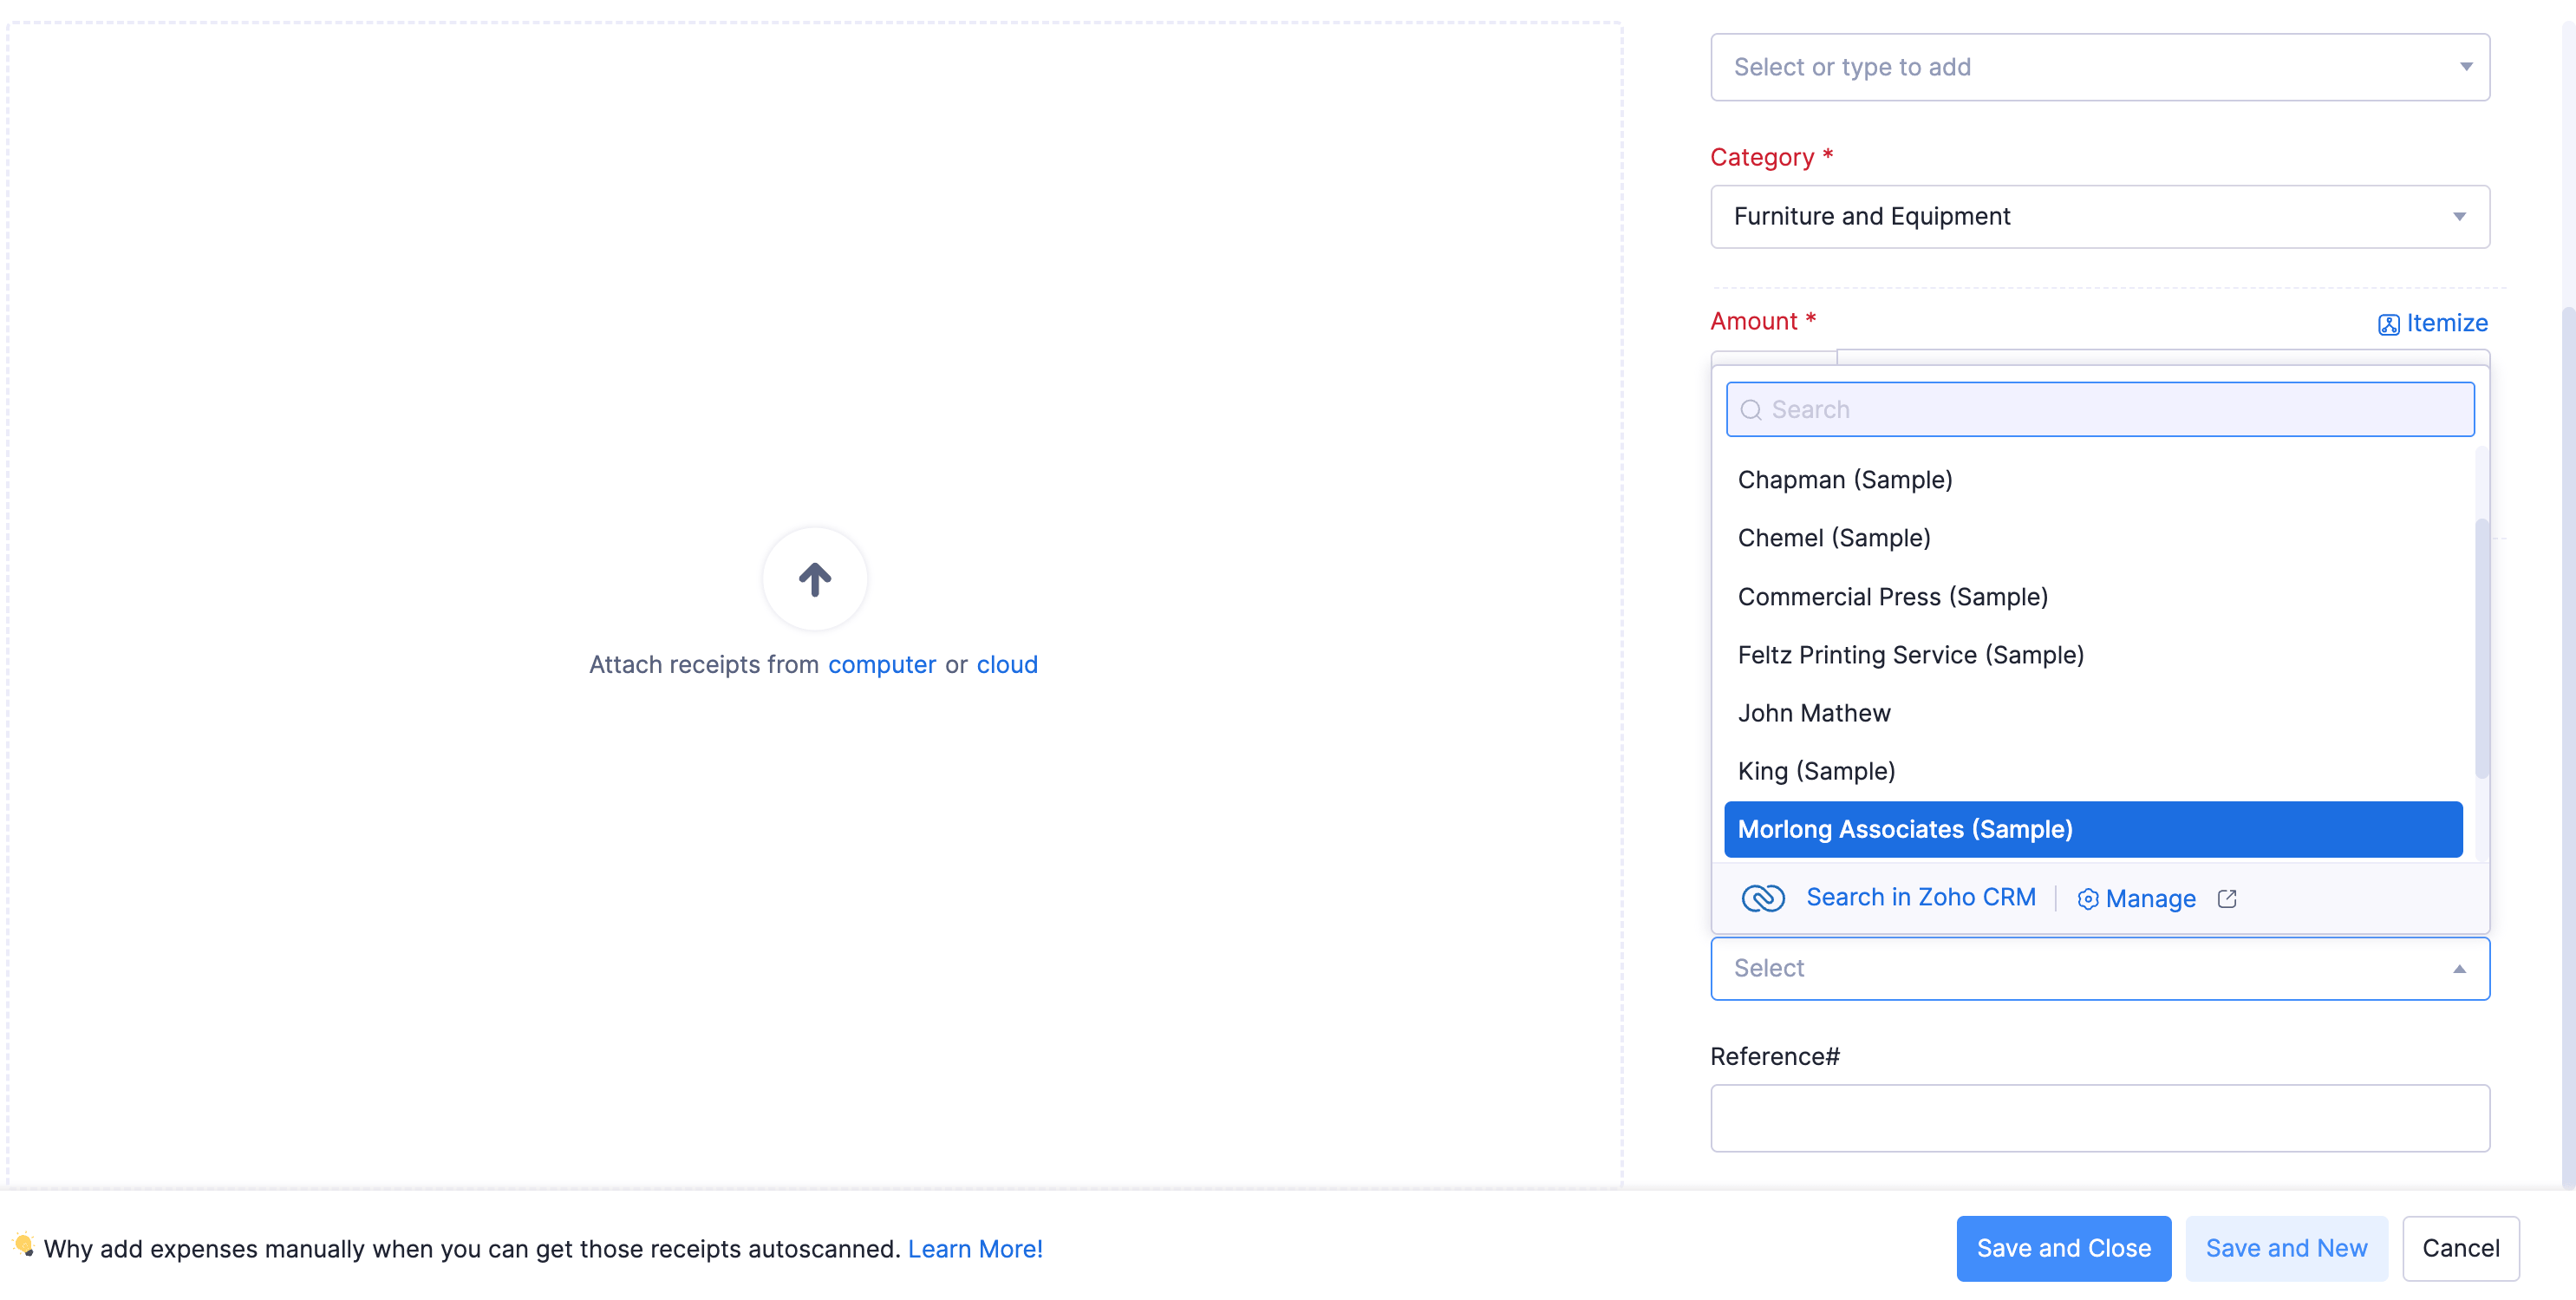
Insight: If you want to search for contacts, the available search criteria are First Name and Last Name. If you want to search for accounts, enter the account name from Zoho CRM. The contacts associated with the respective account will be displayed.
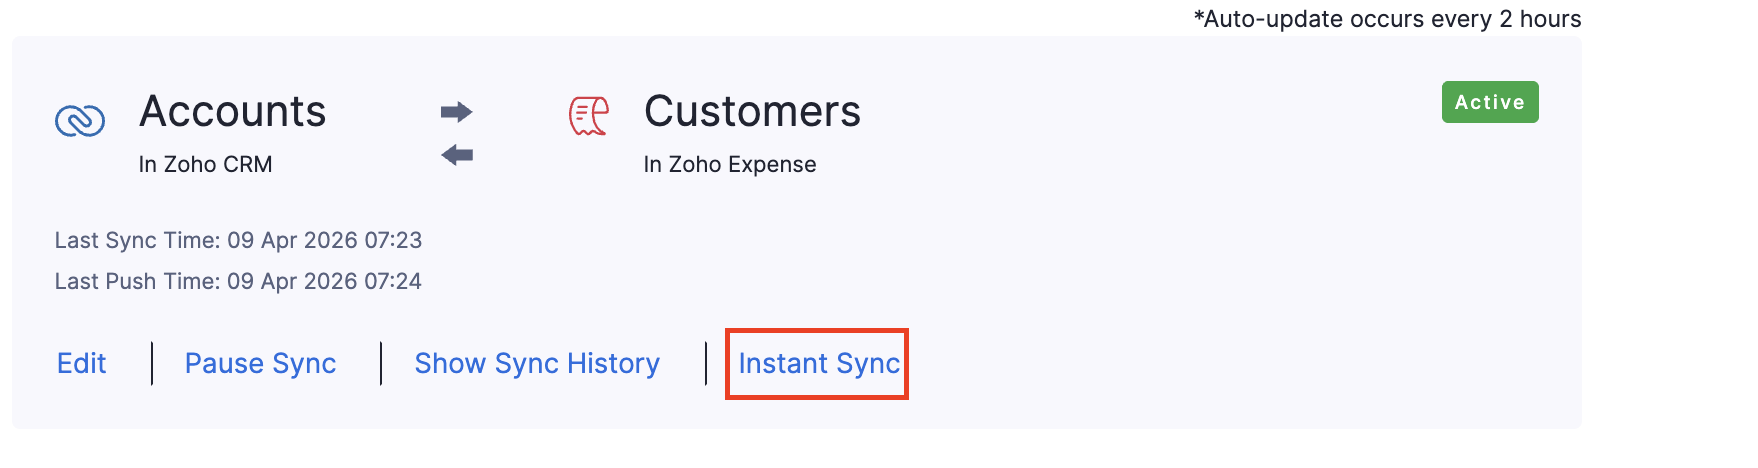
Auto-sync
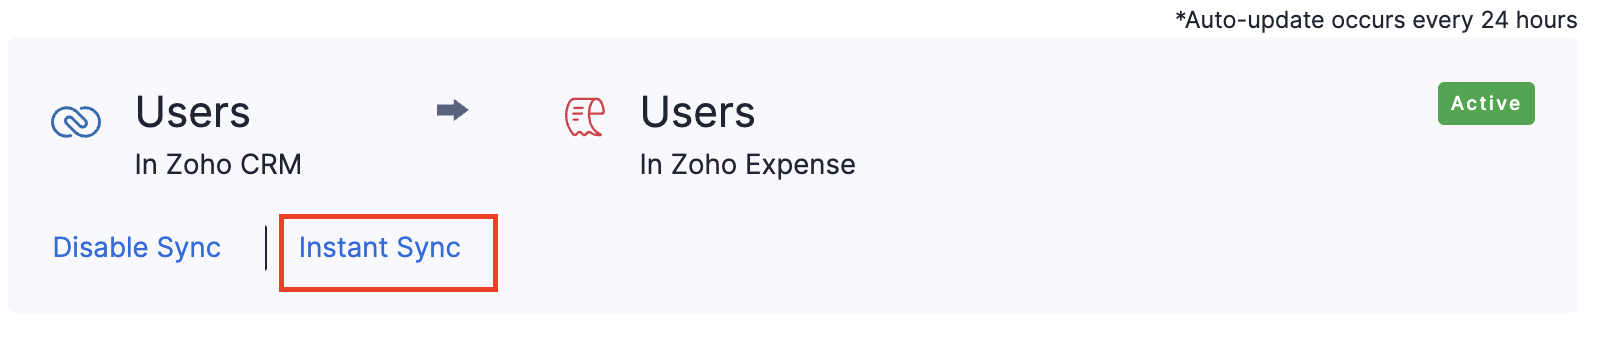
Once you’ve configured the integration, any new data you add will be updated via the auto sync feature that occurs once in 24 hours after the initial sync. However, there’s also a manual instant sync option, as shown below, which you can use to sync the latest data anytime.
Disable Integration
If you do not want to use the integration any longer, you can disable it. To do this:
- Navigate to the Admin View.
- Go to Settings.
- Navigate to Integrations and Developer Space.
- Click Zoho Apps under Integrations.
- Click Show Details on the Zoho CRM card.
- Click Disable Integration below the email address in the Zoho CRM Credentials section.
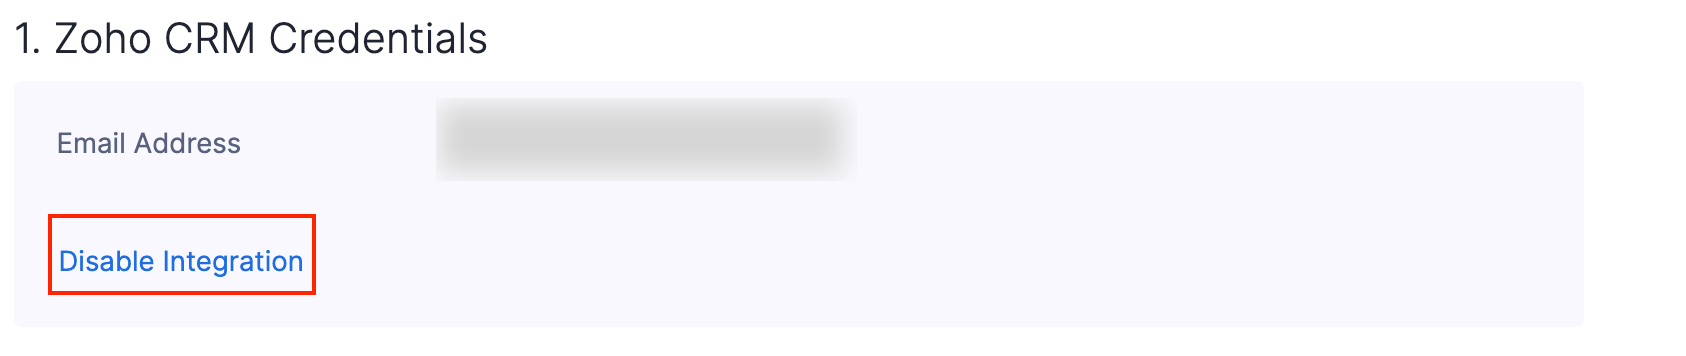
- In the pop-up, click Confirm. Once this is done, no further data sync will take place between Zoho CRM and Zoho Expense.
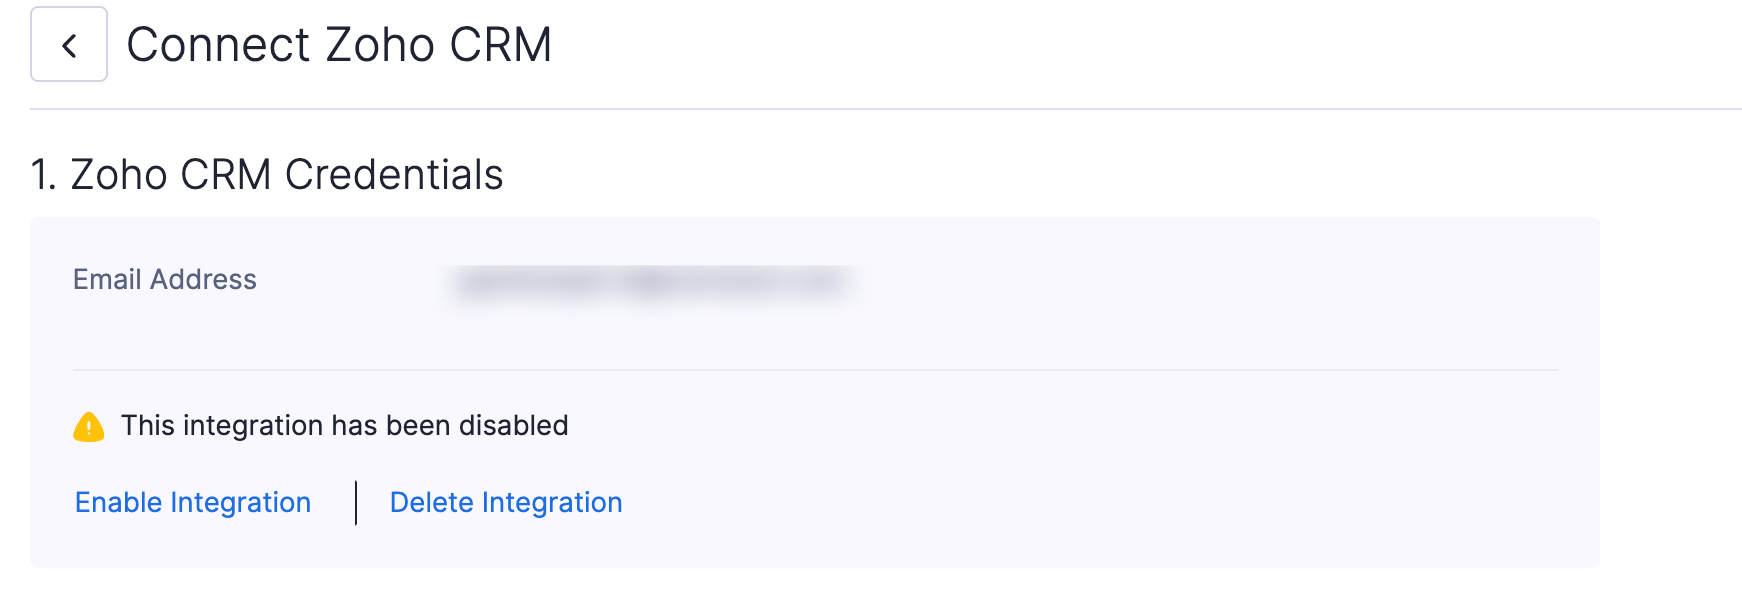
Delete Integration
If you’ve disabled the integration between Zoho Expense and Zoho CRM and no longer want to sync records, you can delete the integration. Once deleted, the mapping between the records will be permanently removed. This action cannot be undone.
Warning: If you’ve integrated your Zoho Expense organisation with other Zoho Finance apps, the integration will be removed from those apps as well.
Prerequisite: You can delete the integration only if it is disabled.
To delete the integration:
- Navigate to the Admin View.
- Go to Settings.
- Navigate to Integrations and Developer Space.
- Click Zoho Apps under Integrations.
- Click Show Details on the Zoho CRM card.
- Click Delete Integration in the Zoho CRM Credentials section.
- In the pop-up, select if you want to convert all synced Zoho CRM records to Zoho Expense records, or convert only the records with transactions and delete the remaining records.
- Click Delete to confirm. The integration will be deleted. You’ll also receive an in-app notification when the deletion is complete.
Importing users from Zoho CRM
Users can be imported from CRM in two ways:
Instant Syncing of Users
Once you click Instant Sync, all users from Zoho CRM will be automatically fetched into Zoho Expense. The number of active members imported will depend upon your subscription plan. Remaining members will be marked ‘inactive’. It will be updated automatically once every 24 hours. After enabling the sync, newly added users in Zoho CRM will be fetched into Zoho Expense during auto-update. You can click Instant sync as shown below to import users anytime.
Similarly, you can disable the sync by clicking Disable sync as shown below. Users will no longer be automatically fetched from Zoho CRM.
Manual Import of Users
You can also import contacts from Zoho CRM in bulk and assign them roles by performing the following steps:
- Navigate to the Admin View.
- Go to Settings.
- Go to Organisation Settings section.
- Click Users under Users and Roles.
- Click the More icon on the top right corner.
- Click the Import Zoho CRM users option from the dropdown.
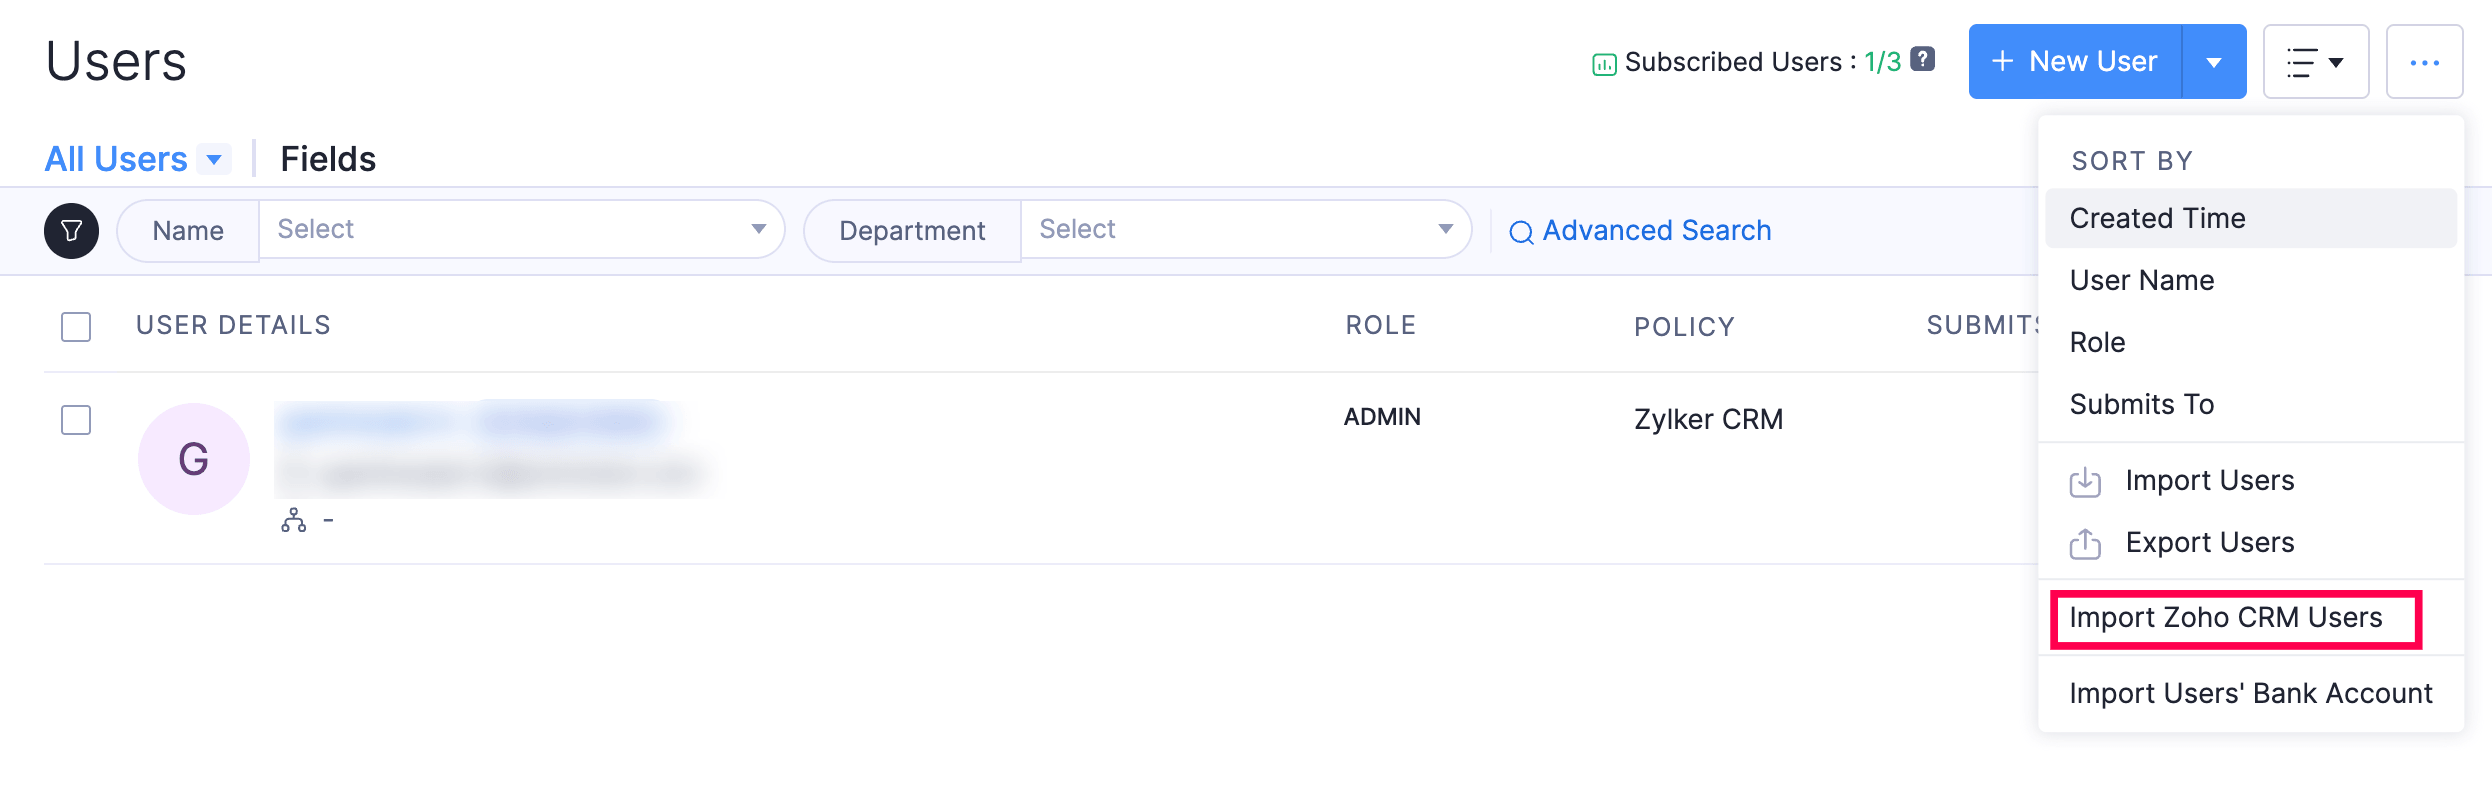
- Once your contacts are imported into Zoho Expense, you can choose contacts that you wish to import and assign them user roles as per your preference.
Work with Zoho Expense modules in Zoho CRM
On integrating your Zoho Expense organisation with Zoho CRM, you can record your expenses, add them to a report and submit it for approval, directly from your CRM account. You no longer have to separately login to Zoho Expense to record your expenses each time they are incurred.
Note: This integration is available only in the Professional, Enterprise, and Ultimate plans of Zoho CRM.
Accessing Zoho Expense Modules from Zoho CRM
To access Zoho Expense modules from within Zoho CRM, you need to first enable the module sync in Zoho Expense. Perform the following steps to enable the sync:
- Navigate to the Admin View.
- Go to Settings.
- Navigate to Integrations and Developer Space.
- Click Zoho Apps under Integrations.
- Click Show Details on the Zoho CRM card.
- Scroll down to the Sync Modules section.
- Click Enable.
- The Expenses and Expense Reports modules will now be available in Zoho CRM under the custom tab Zoho Expense.
Creating Expenses from Zoho CRM
This can be done using two ways:
From the Zoho Expense tab
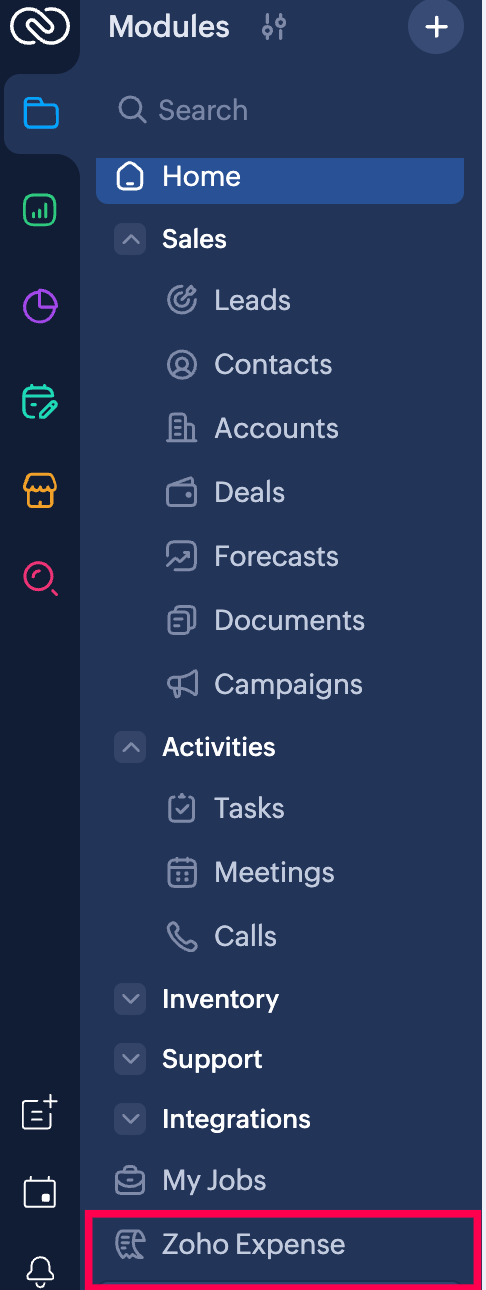
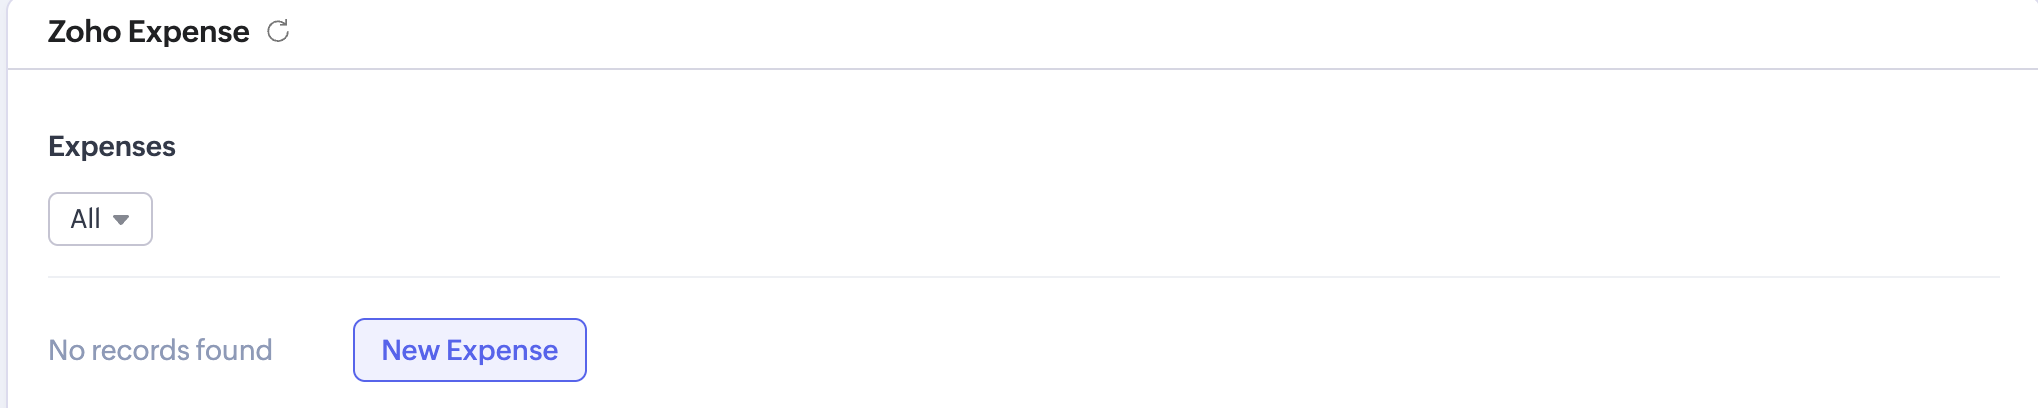
- Once the integration has been enabled, the Zoho Expense tab will be automatically enabled in your CRM account. You can access the Expenses and Reports modules from this tab.
Manually Record Expenses
- Click +New Expense at the top right corner of the page.
- Fill in details such as Date, Category, Amount, etc.
- Upload receipts, if necessary.
- Check the Claim Reimbursement option if the expense involves spending from your pocket.
- Mark the Billable option if you want to bill your expenses to your customers.
- You can choose your Accounts/Contacts from the Customer drop-down, if the expense was incurred for them.
- On choosing an account from the Customer drop-down, the Potential drop-down would appear, containing all the potentials associated with the account/contact. Choose the potential for which the expense was incurred.
- Select a report from the Add to Report dropdown to add this expense to an existing report or add to a new report.
- You can include employees or contact persons to your expense from the Attendees dropdown.
- Click Save and Close to save your expense.
(OR)
Click Save and New to save and create a new expense.
Upload or Drag-drop Receipts
Once you upload or drag and drop a receipt in Zoho Expense, you can convert it into an expense. To do this:
- Click +New Expense at the top right corner of the page.
- Click the View button on the top of the page to view the receipts that haven’t been converted into expenses yet.
- Click Add Manually in the receipt you want to convert to an expense.
- Enter the expense details like date, category, amount, etc.,
- Click Save and Close and an expense will be created for the receipt.
(OR)
Click Save and Next, if you want to convert the next receipt into an expense.
Record Per diem Expenses
Per diem is a daily allowance that an organisation provides to an employee while they travel for work. Employees can create per diem expenses for individual days or for an entire trip.
To record per diem expenses:
Click +New Expense dropdown at the top right corner of the page.
Select Per Diem.
If you want to associate the per diem expense to a report, select a report from the Add to Report dropdown or add to a new report.
Select a policy from the Policy dropdown.
Choose a per diem type. There are two types of per diem:
- Trips
- Individual Days
Trip: If you want to calculate per diem for the entire trip, select the per diem type as Trip. For instance, if you record per diem for a duration from 09:00 to 17:00 hours from 14 January to 17 January, then per diem expense for 14 January will be calculated from the start time (09:00 hours) to the end of the day (23:59 hours). Similarly for 17 January, the duration will be calculated from the beginning of the day (00:00) to the end time (17:00). For all other days, the duration will be considered as 24 hours.
Individual Days: If you want to calculate per diem for each day, select the per diem type as Individual Days. For instance, if you record per diem for a duration from 09:00 to 17:00 hours from 14 January to 17 January, then per diem will be calculated for eight hours each day.
If you choose to create per diem expenses based on Trip
- Enter your Departure Location, Date, and Time.
- Similarly, enter the Arrival Location, Date, and Time.
- Click Calculate Per Diem. Per diem will be calculated based on the rules configured by your admin by including all the hours from the start time on the first travel day to the end time on the last travel day. For the days in between, per diem is calculated for 24 hours.
- In the page that opens, mark the checkboxes of the per diem rates that you want to record, and click Save and Close.
Note: For your first and last travel days, your departure or arrival location will be used as the per diem locations as configured by your admin.
If you choose to create per diem expenses based on Individual Days
- Select the Travel Location from the dropdown.
- Choose the first and last dates of visit.
- Enter the daily start and end time.
- Click Calculate Per Diem.
- In the page that opens, the per diem rates calculated for each day of your trip will be displayed. These rates are calculated by applying the same time duration for all the days based on the per diem rates configured.
- Mark the checkboxes of the per diem rates that you want to record, and click Save and Close.
Bulk Add Expenses
To add expenses in bulk:
- Click +New Expense dropdown at the top right corner of the page.
- Select Bulk Add Expenses.
- Enter relevant information such as date, category, amount, etc.,
- Click + to attach receipts, if necessary.
- Check the Reimbursable option if your expenses are reimbursable.
- If you want to add more expenses, click + Add More Expenses and enter the expense details.
- After entering the details of all the expenses, click Save.
Create Expenses from Card Statements
You can connect your card or import your card statement. If the admin has enabled auto-matching/creation of corporate card expenses under Expense Preferences, expenses will be automatically created for corporate card transactions. Otherwise, the users can create expenses from their card transactions manually.
Prerequisites:
- The corporate card expenses that are created will be non-reimbursable.
- While creating expenses from the card transactions, you cannot modify the expense amount.
You can also create mileage expenses and create expenses from Autoscan.
From the Accounts/Contacts/Potentials details
You can create expenses by performing the below steps from the Accounts/Contacts/Potentials details, depending upon the CRM modules synced with Zoho Expense.
- Go to the account/contact/potential for which the expense was incurred.
- Scroll down to Zoho Expense. All the expenses and expense reports associated with the account/contact/potential will be listed under this section.
- Click New Expense. You will be redirected to the Expense creation page.
- Provide all necessary details like date, amount, category etc.
- Attach a receipt if necessary.
- The Customer field will be auto-filled with the Account’s/Contact’s name.
- The Potential field will also be auto-filled when the expense is created from the Potentials details. Otherwise you need to select it from the drop-down.
- Click Save.
Creating Expense Reports from Zoho CRM
This can be done using two ways:
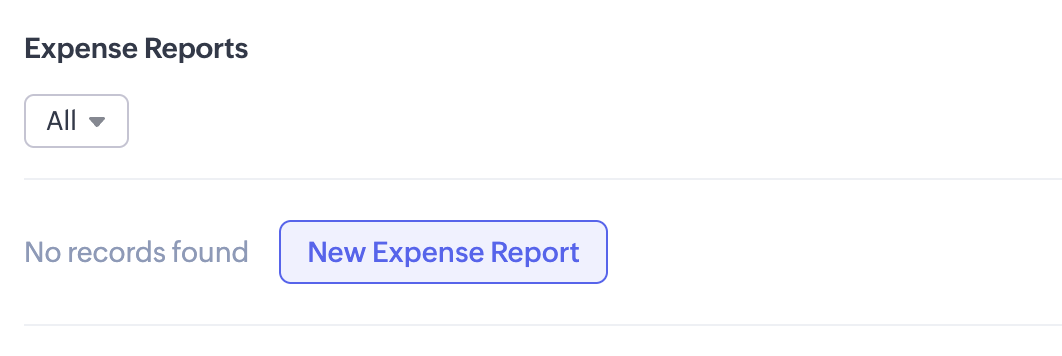
From the Zoho Expense tab All the expense reports created in Zoho Expense will be automatically listed in your CRM account and vice-versa. To create expense reports:
- Go to Zoho Expense.
- Click the Expense Reports tab on the left sidebar.
- Click + New Report.
- A new report page will open.
- Fill in the following fields:
Fields Description Report Name A name for the expense report. Business Purpose The business event or purpose for which you’ve incurred the expenses that are added to the report. Duration The duration for which you’ve incurred the expenses that are added to the report. Customer Select an Account/Contact from the Customer drop-down if the expense was incurred for a particular account or contact.
- Fill in the following fields:
- Click Save. A new report will be created.
From the Accounts/Contacts details
Expense reports created for this Account/Contact, both in Zoho Expense and Zoho CRM, will be listed under this section. Perform the following steps to create an expense report:
- Go to the Account or Contact for whom the expense was incurred.
- Scroll down to Zoho Expense.
- Click New Expense Report. You will be redirected to the + New Report page.
- Provide all the necessary details.
- The Customer field will be auto-filled with the account’s/contact’s name.
- Click Save.
Adding Expenses to Report
To add your expenses to a report
- Click the Expenses tab.
- Under the Unreported Expenses tab select the expenses you want to add to report.
- Click Add to Report at top of the page.
- Select the report to which you want to add the expenses from the dropdown. Click + Add to New Report to create a new one.
- If you want to add expenses in bulk, select the expenses of your choice and click the Add to report drop-down. This can be done even from the Accounts/Contacts/Potentials details. You can add them to an existing report or create a new report.
- Once that’s done, go to the report from the Expense Report tab and click Submit.
Submitting Expense Report
This can be done by performing the following steps:
- Go to the Expense Reports tab.
- Select the reports you want to submit for approval.
- Click Submit at the top of the page.
- In the pop-up, select an approver for the report.
- Click Submit again to confirm your action.
Deleting Expenses
To delete expenses individually, perform the following steps:
- Go to the Expense tab and click the expense you want to delete.
- Click the More icon at the top right corner of the page.
- Select Delete.
- In the pop-up, click Delete again to confirm your action.
- If you wish to delete expenses in bulk, then select the expenses and click the More icon, and select Delete from the drop-down. This option is also available in the accounts/contacts/potentials details.
Note: You can delete only unreported, and unsubmitted expenses.
Using Zoho Expense Reports
Using this integration, you get a clear idea of how much was spent on each deal by running the Zoho Expense reports. Using the default set of reports, you can know who has spent the most/least on acquiring a deal, total amount spent on acquiring deals in a month, money spent on lost potentials etc.
- Navigate to Reports module in Zoho CRM.
- Go to Zoho Expense Reports from the existing list of reports on the left.
- Select the report you would like to run from the default set of reports. You can edit these reports or generate new ones to your liking.
- Select the modules you would like to associate with the new report.
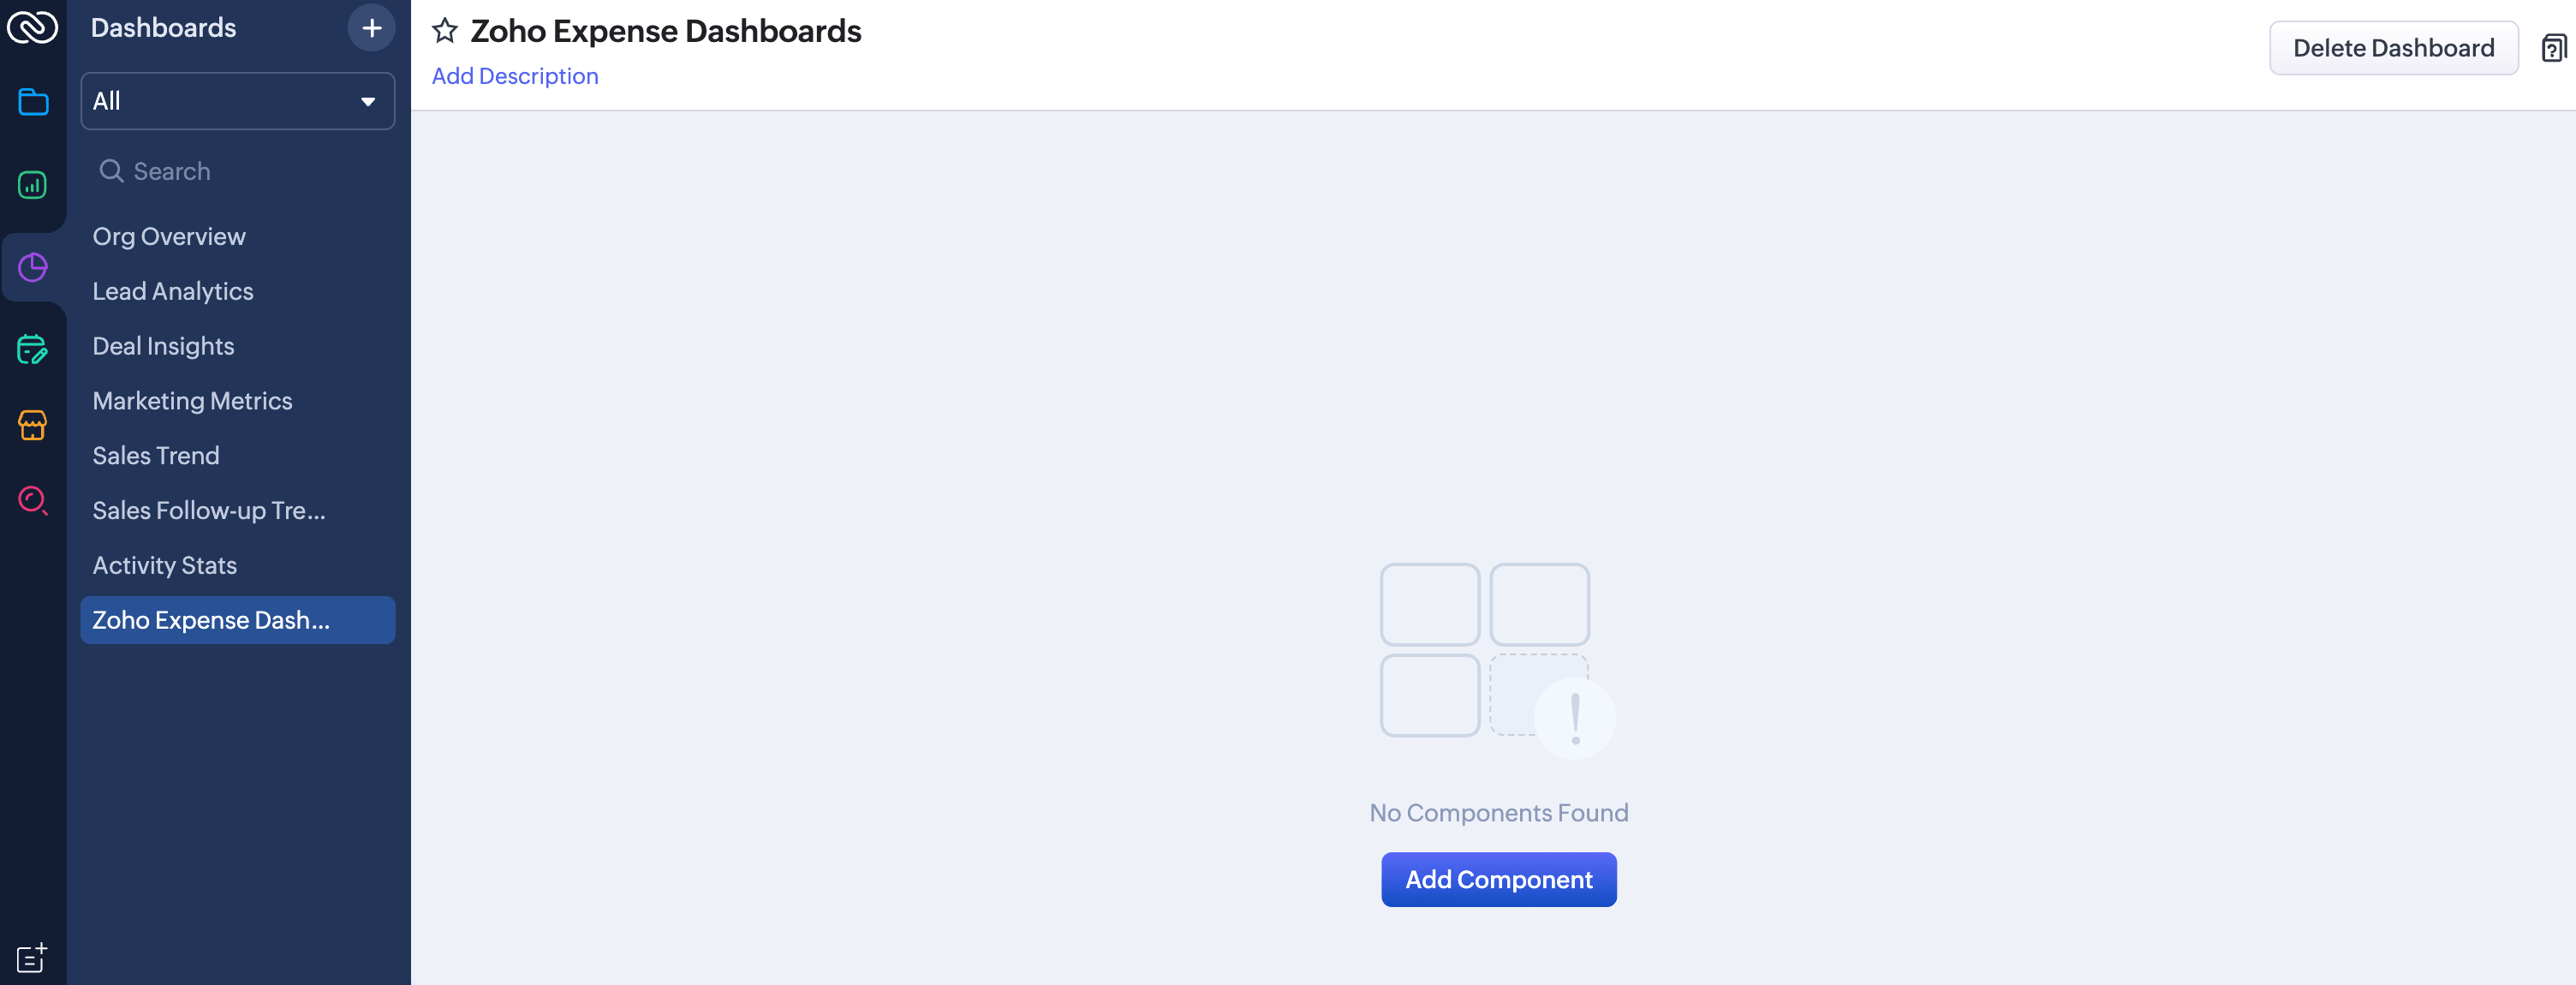
- To create dashboards out of them, move to the Analytics on the left sidebar and click Zoho Expense Dashboards.
- To add components to your dashboard, click Add Component, and choose your preferred components that you want to add to the dashboard.
 Yes
No
Yes
No
Thank you for your feedback!