


Authorization Request
To use the Zoho CRM APIs, the users must authenticate the application to make API calls on their behalf with an access token.
The access token, in return, must be obtained from a grant token (authorization code). The Zoho CRM APIs use the authorization code grant type to provide access to protected resources.
Organization-Specific Grant Token (Authorization Code)
The user can choose to grant access to the application only to a particular organization (either in the Production, Sandbox, or Developer environment of CRM). Therefore, the access and refresh token generated for a user becomes organization-specific in an environment. For instance, the application owner cannot use tokens generated for an organization in the Production environment to make API calls to the organizations in the sandbox or developer accounts.
If your web-based application has more than one organization in multiple environments (for instance, one in production, and two each in sandbox and developer environments), the user will be allowed to choose the organization for which the grant token must be generated.
On the contrary, if your application has only one organization (for instance, one in production and none in sandbox or developer environments), the system automatically generates the grant token for the same, without asking for any choices.For self-clients, the system presents the list of available organizations, irrespective of the number of organizations in your application.
There are two ways in which you can generate the grant token based on the client type.
Web-based application
Web-based applications are chosen when your application is used by multiple users and requires user intervention during authorization. For this client type, you must use redirection-based code generation. In this authorization flow,
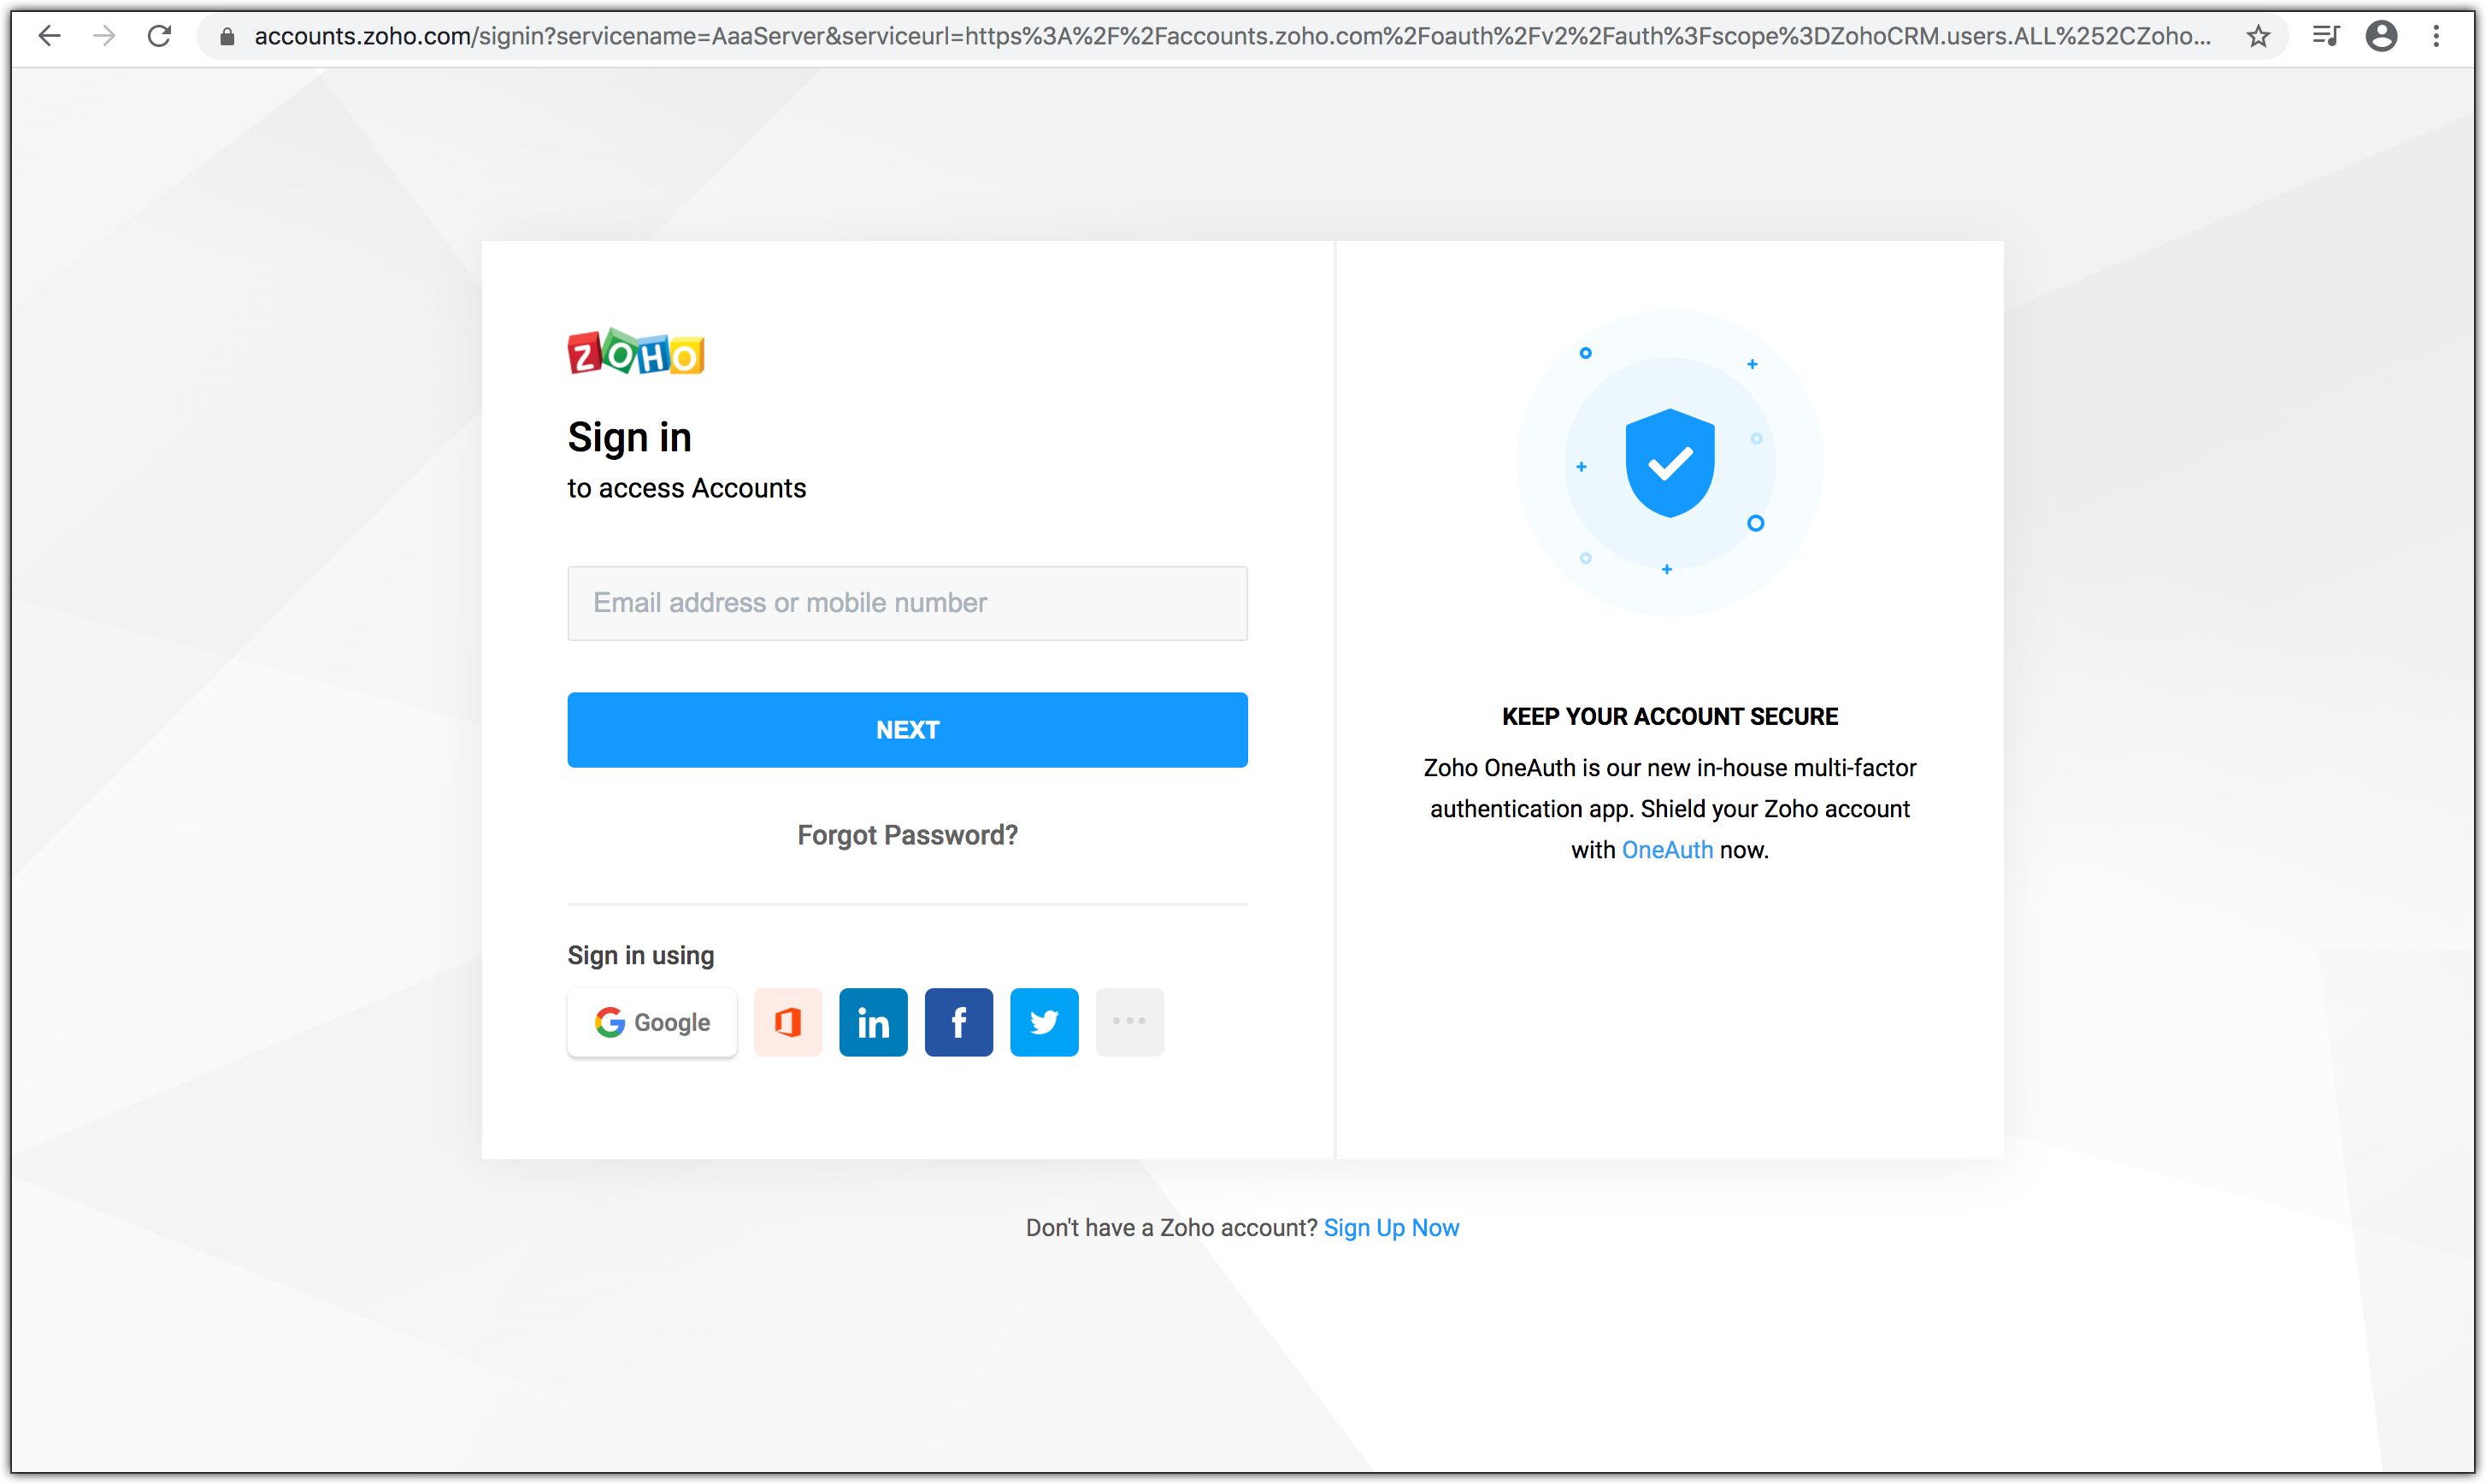
- The user clicks the Login with Zoho button on any third-party web-based application.
- The application redirects the user to the Zoho Login page, and the user enters the Zoho credentials.
- A new pop-up, similar to the one below, appears to ask the user to choose the environment-specific organization, such as Production, Sandbox, or Developer, whose data the application can access. This applies only to applications with more than one organization.

- The user selects the organization for which the grant token has to be generated, and clicks Submit.
- The web application redirects the user to the Zoho OAuth server with the required scope in the Accounts URL:
"https://accounts.zoho.com/oauth/v2/auth?scope=ZohoCRM.users.ALL&client_id={client_id}&response_type=code&access_type={"offline"or"online"}&redirect_uri={redirect_uri}"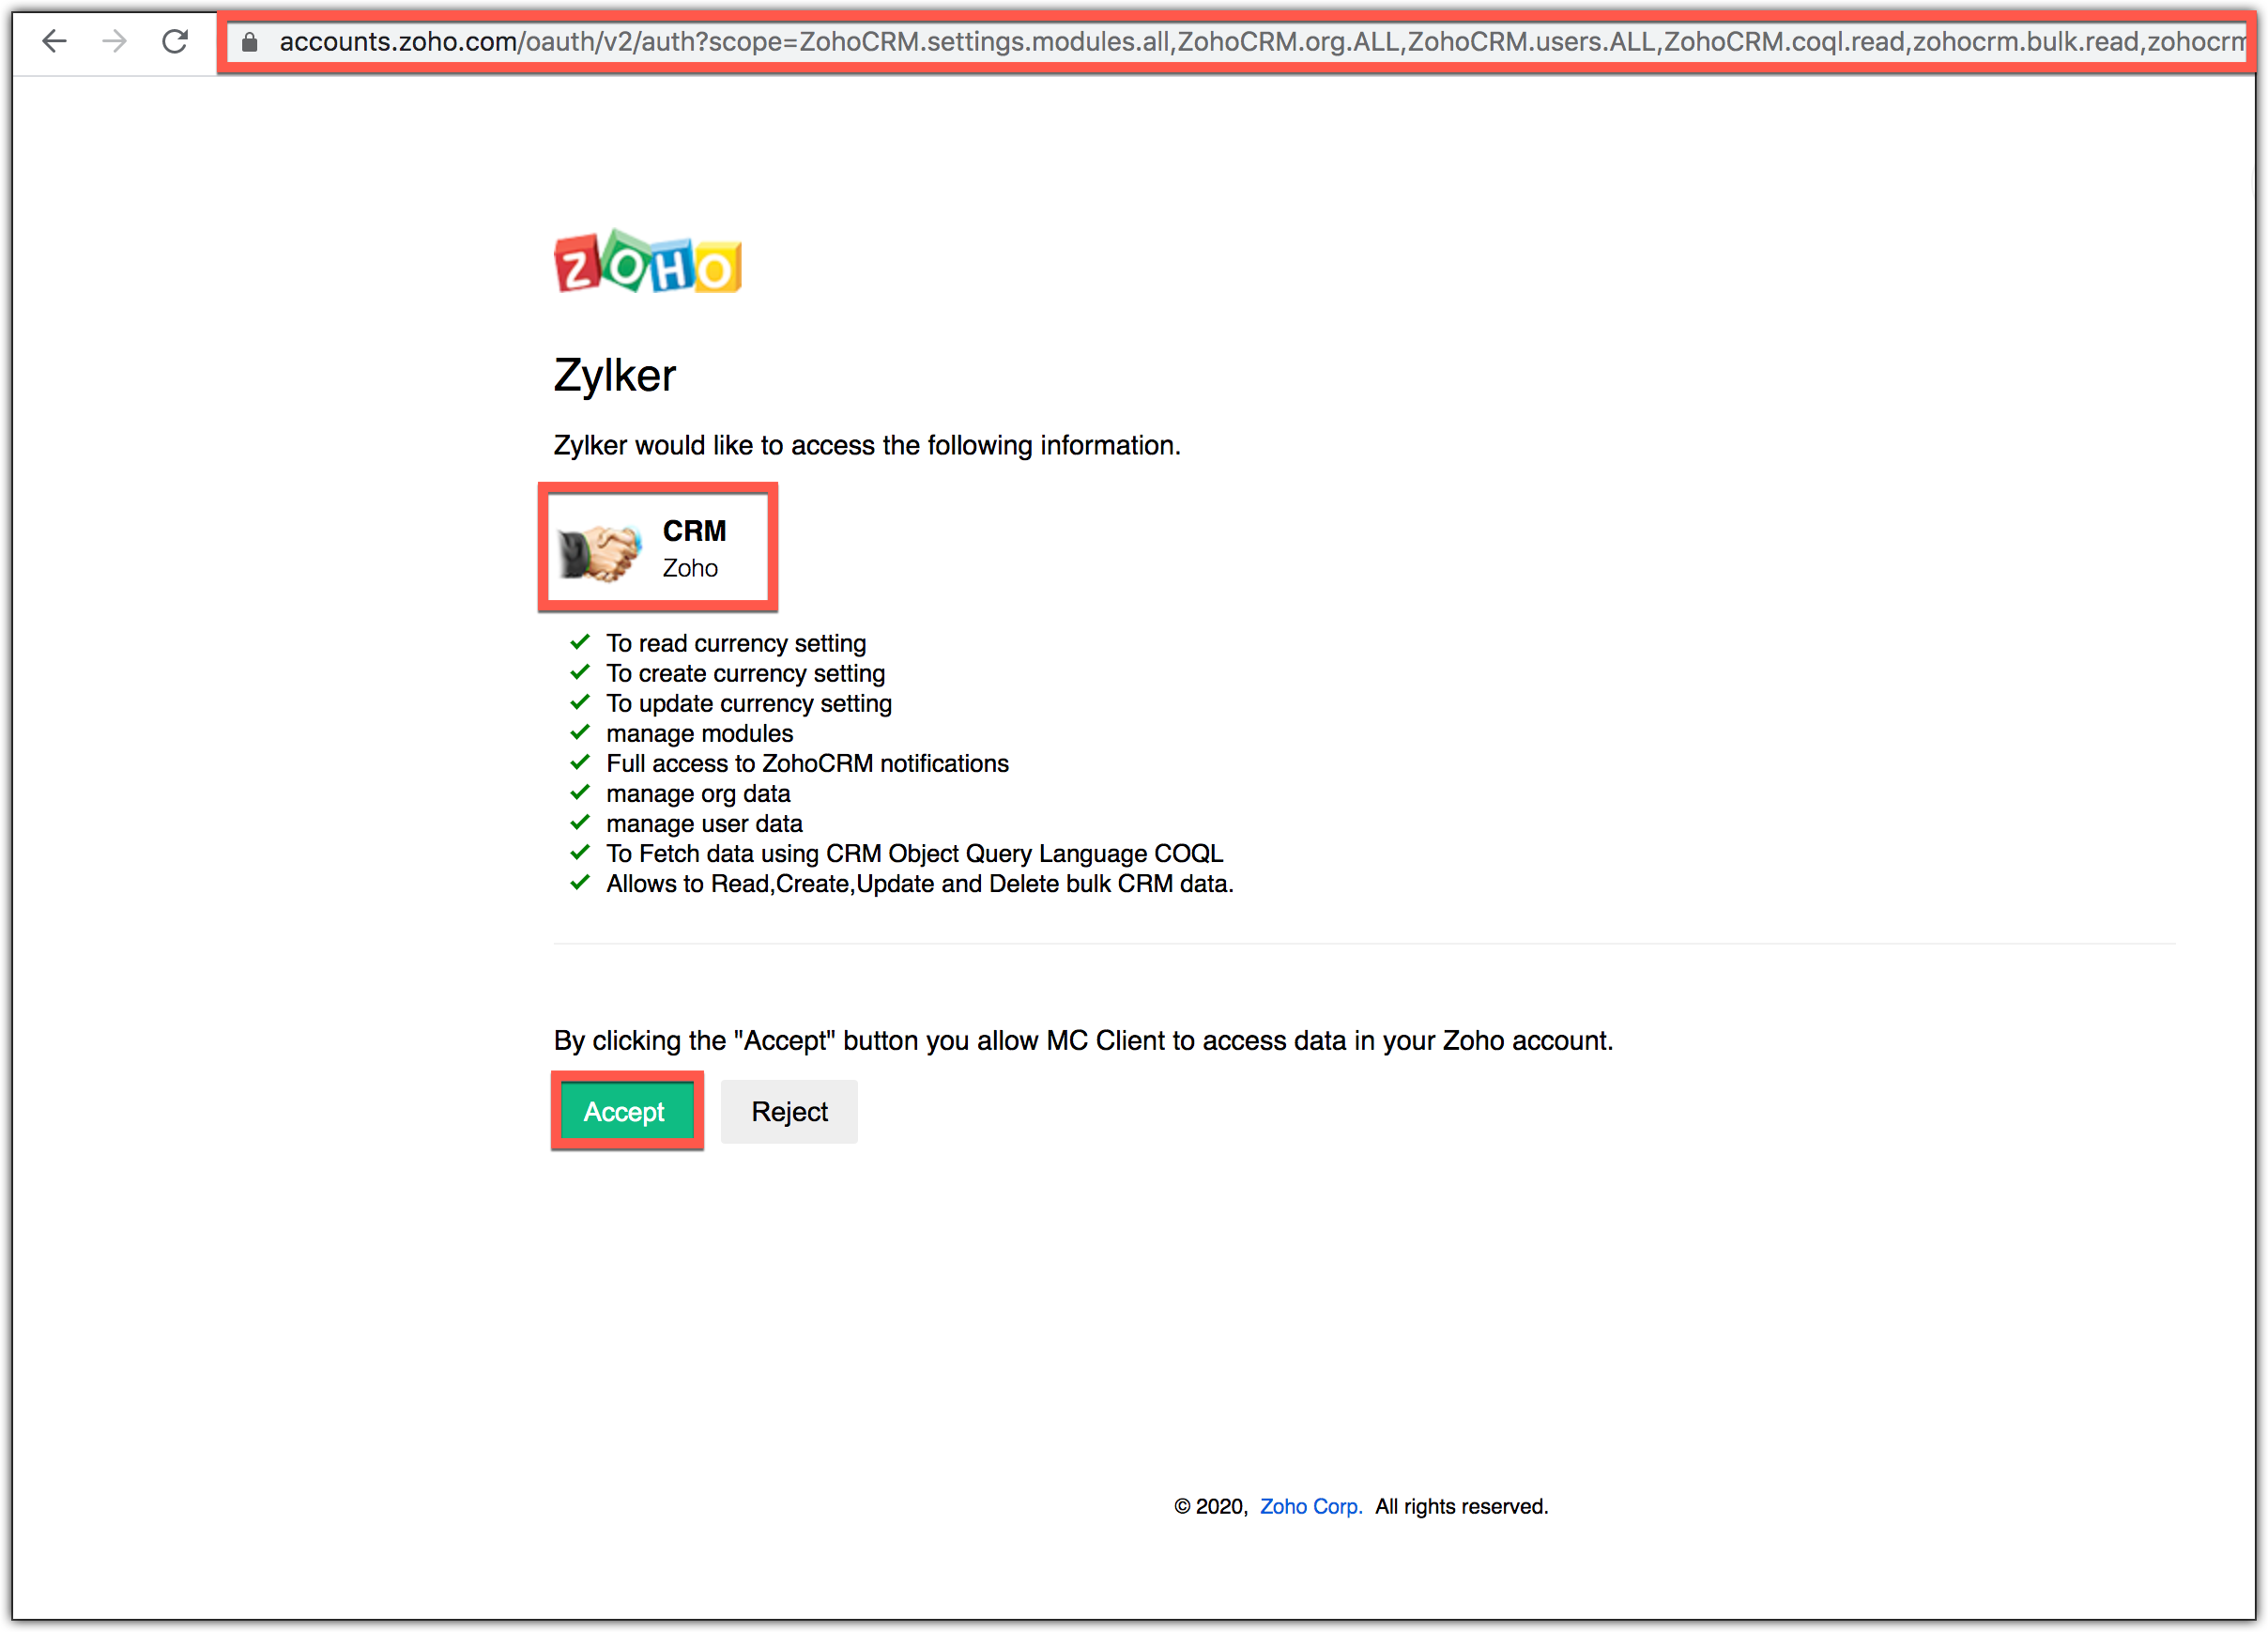
As you can see, the request URL has the parameters "scope", "client_id", "response_type", "access_type", and "redirect_uri". Also, the page displays the chosen organization and the data (scope) that the application wants to access.


Parameters
- scope
Data that your application wants to access. Refer to Scopes for more details.
- client_id
Client ID(consumer key) that you obtained during client registration.
- redirect_uri
Callback URL that you specified during client registration.
- response_type
Enter code.
- access_type
Enter access_type as online or offline. If you want to generate the refresh token, set this value as offline.
Based on the user's login details, the system automatically detects the user's domain and uses the domain-specific authentication URL to obtain the organization-specific grant token (code).
- When the user clicks Accept: The application gets authorized. The organization-specific grant token is sent as a parameter in the redirect_uri.

- A back-end script from your end needs to store the following details from the above URL.
- code={grant_token} - This is used to generate access and refresh tokens.
- location={domain} - This tells you the domain of the user from which you have to make API calls.
- accounts-server={accounts_URL} - This is your accounts URL which you have to use to generate access and refresh tokens.
- The application exchanges the authorization code for an access token.
- When the user clicks Reject: The browser redirects to the redirect URI with the parameter error=access_denied, and your application is denied access to the user's data in Zoho CRM.

The grant token is valid only for two minutes. Refer to the Token Validity page for more details.
The authorization URL has the scope for Users. You can change the scope as per your requirement.
Possible Errors
- ERROR_invalid_response_type
Resolution: The value of the "response_type" key is not "code". Update the value as "code".
(or)
You have not passed the mandatory keys in the request. Pass all the mandatory keys in the request to generate the organization-specific grant token. - ERROR_invalid_client
Resolution: The client ID is wrong or empty. Pass the right client ID. You can check your client ID from the developer console.
- ERROR_invalid_redirect_uri
Resolution: The redirect URI value passed, and the one registered in the developer console mismatches. Pass the right redirect URI.
- ERROR_invalid_scope
Resolution: The scope is invalid. Pass valid scopes. You can refer to the list of scopes here.
Self-Client option
Use this method to generate the organization-specific grant token if your application does not have a domain and a redirect URL.
You can also use this option when your application is a standalone server-side application performing a back-end job.
Go to Zoho Developer Console and log in with your Zoho CRM username and password.
Choose Self Client from the list of client types, and click Create Now.
Click OK in the pop up to enable a self client for your account.
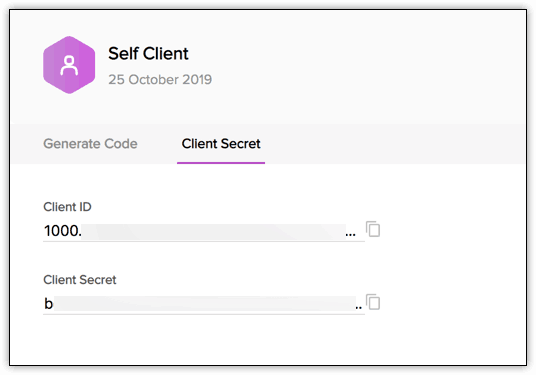
Now, your client ID and client secret are displayed under the Client Secret tab.
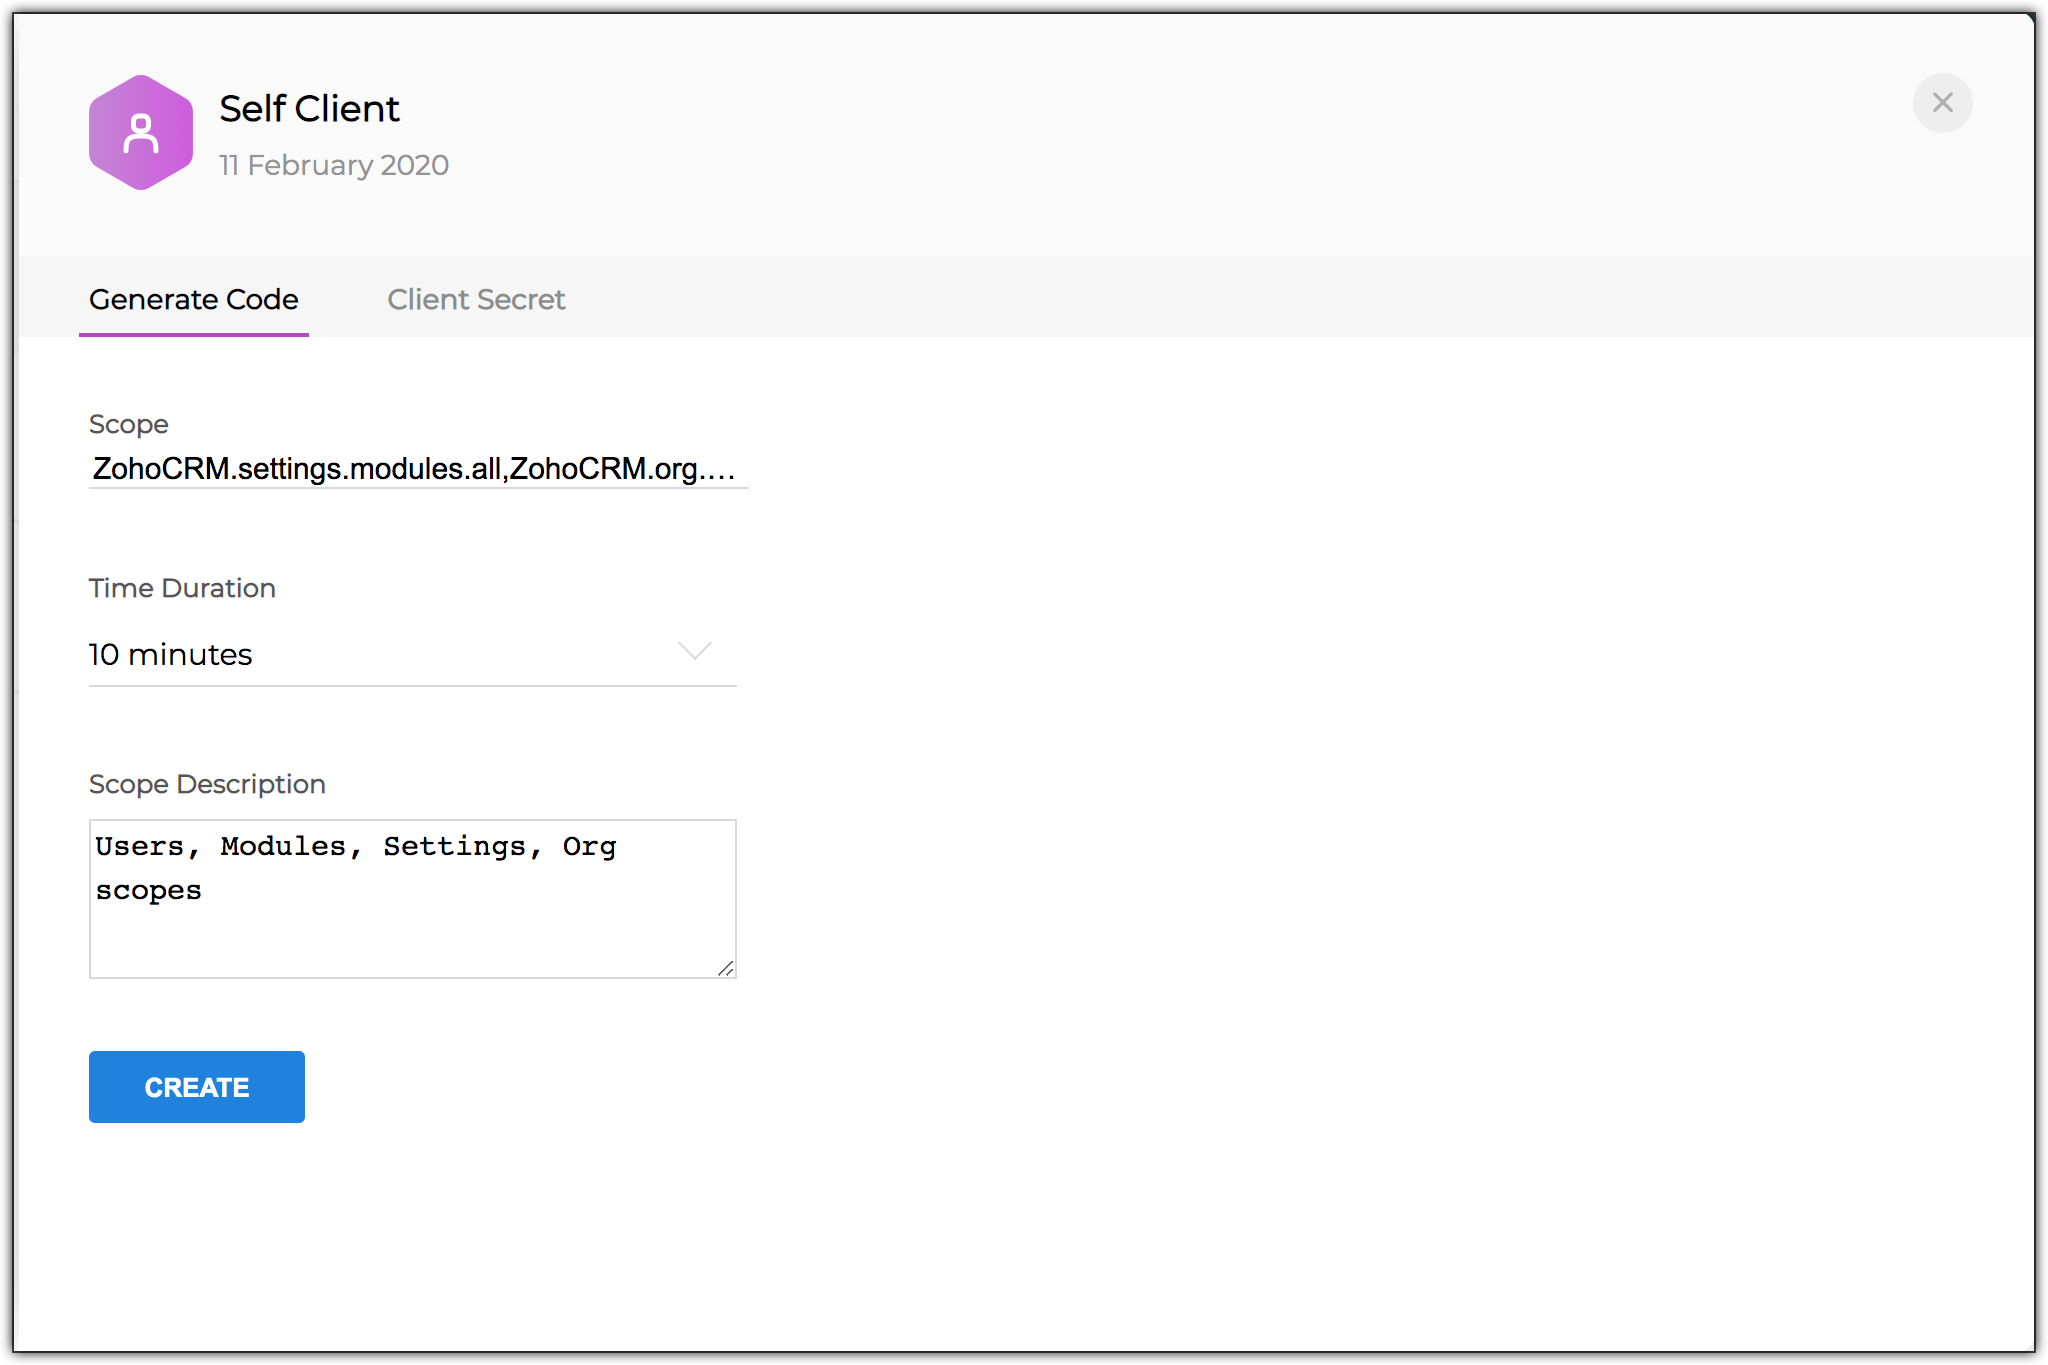
Click the Generate Code tab and enter the required scope separated by commas. Refer to our list of Scopes, for more details. The system throws an 'Enter a valid scope' error when you enter one or more incorrect scopes.
Select the Time Duration for which the grant token is valid. Please note that after this time, the grant token expires.
Enter a description and click Create.
A pop up displays the list of portals as shown below. Choose your portal. Further, the pop-up displays the list of environments and different organizations under each environment.
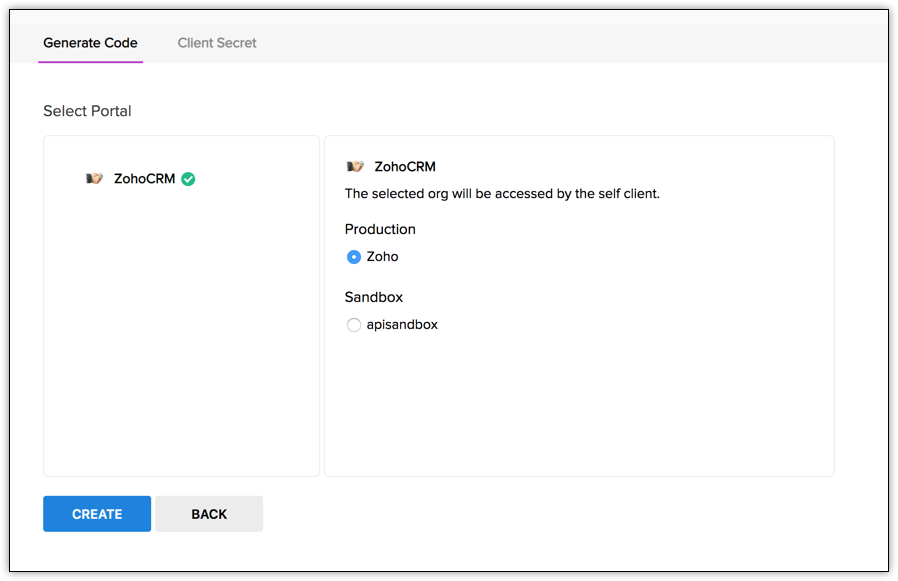
Select the organization in an environment you want to generate the authorization code for, and click Create.
The organization-specific grant token code for the specified scope is displayed. Copy the grant token.
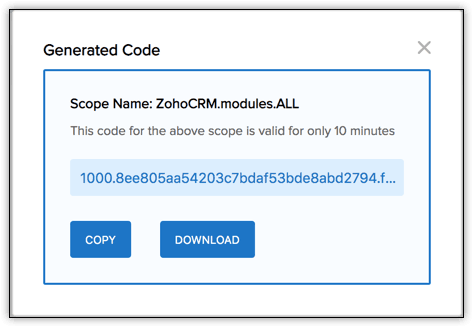


Generating the organization-specific grant token is a one-time process, provided you generate the access and refresh tokens within the time the grant token is valid for.