
Integrate Zoho Expense With ScanSnap
Introducing Zoho Expense’s first integration with a hardware - ScanSnap. ScanSnap is a document scanner that effectively scans a variety of documents such as receipts, business cards, and more, digitizes them, and stores them in easily accessible formats on the cloud.
With the Zoho Expense - ScanSnap integration, you can effortlessly scan your paper receipts in ScanSnap and automatically send them to Zoho Expense to create expenses.
Here’s how the integration works:
Sign in to your ScanSnap account and create a profile for Zoho under Email Directly. Enter a name for the profile. Under Email setting, set up the To email address as scansnap@receipts.zohoexpense.com, and in the Subject field, enter your Zoho Expense email address. Once this is done, the profile name that you entered will be displayed as a button on the ScanSnap device to send receipts to Zoho Expense directly.
After completing these steps, you can scan your receipts using the ScanSnap device and directly send them to Zoho Expense at the click of a button. The sent receipts will be autoscanned and created as expenses.
Benefits of the integration:
Effortless scanning and expense creation: Simply configure a one-time setup on the ScanSnap device, and the receipts will be scanned and sent to Zoho Expense at the click of a button. No more difficulties in managing your business receipt load! Additionally, you can scan your receipts in bulk and facilitate instant creation of all your expenses.
Guaranteed scan quality: ScanSnap cloud application has extraordinary image optimization capabilities, such as auto-size detection, auto-rotation, color detection, and blank page removal. These features allow users to upload clear receipt files.
Configure Direct Emails from ScanSnap
You can send receipts as emails from ScanSnap to Zoho Expense directly by following the steps below:
- Firstly, you must sign in to your ScanSnap account. Click Settings on the top bar. In the dropdown that opens, click Preferences.
- Click Account on the left sidebar and enter the Email Address and Password of your ScanSnap account. You will be signed in to your ScanSnap account.
- Click OK. You can then create a Zoho Profile.
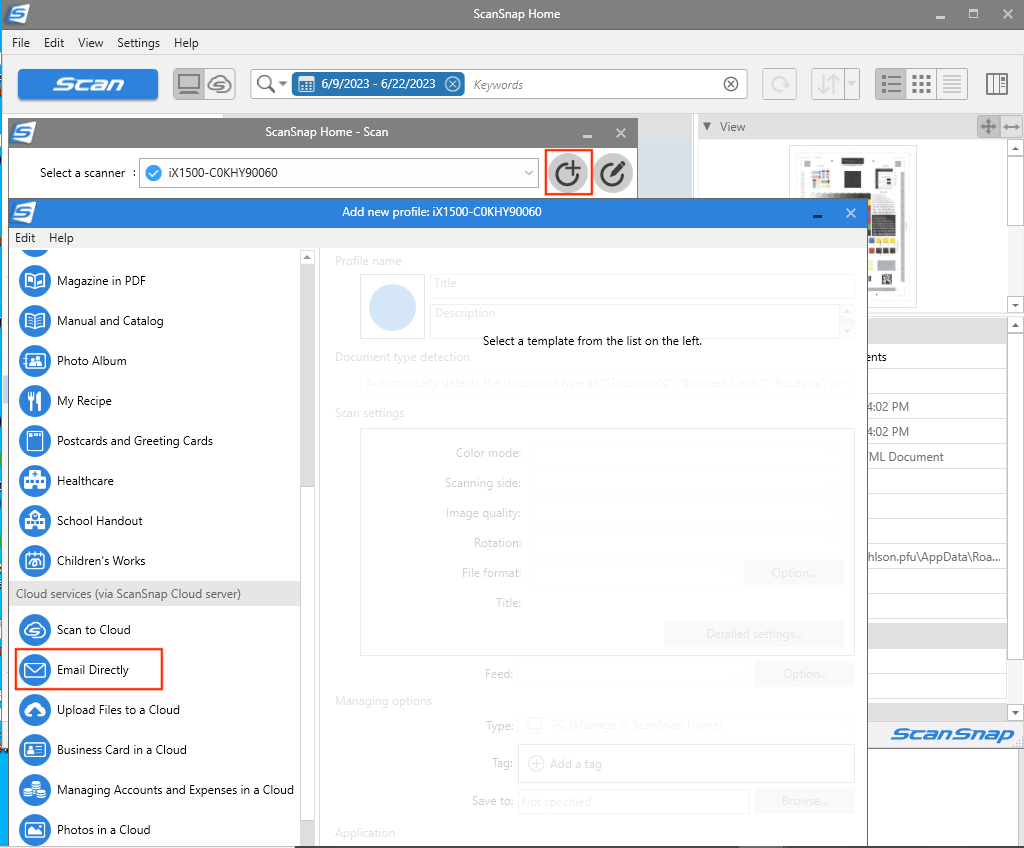
- Click the Scan button at the top of the page.
- On the pop-up that opens, click the Add Profiles icon at the top right side of the page.
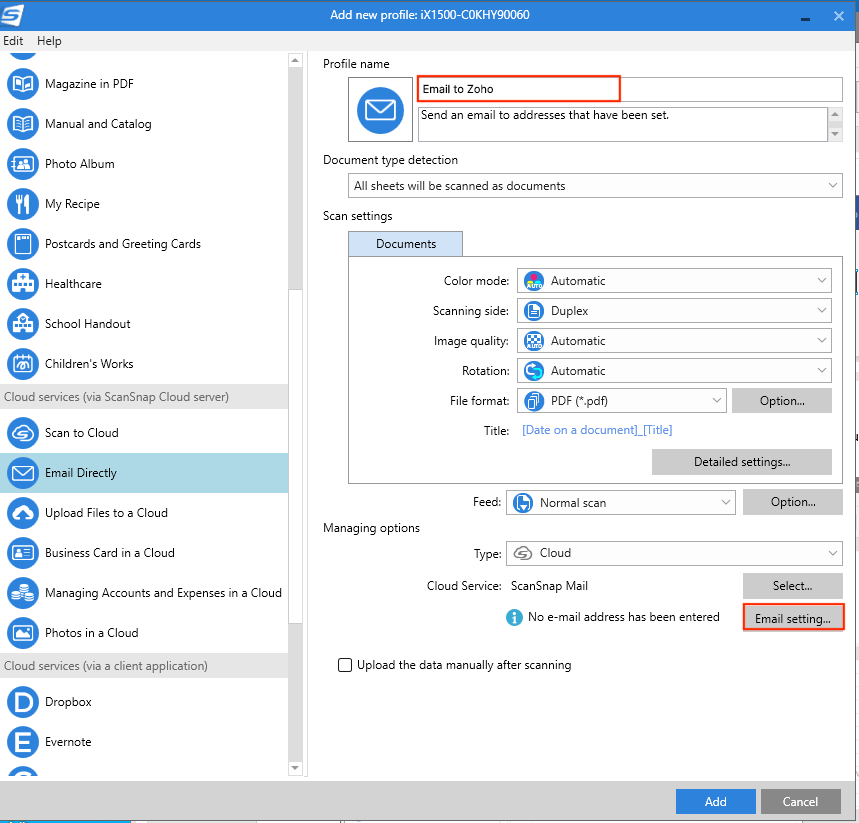
- Scroll down and click the Email Directly option on the left sidebar.
- You can change the Profile name as required. Eg: Email to Zoho.
- Then, click Email setting… at the bottom of the page.
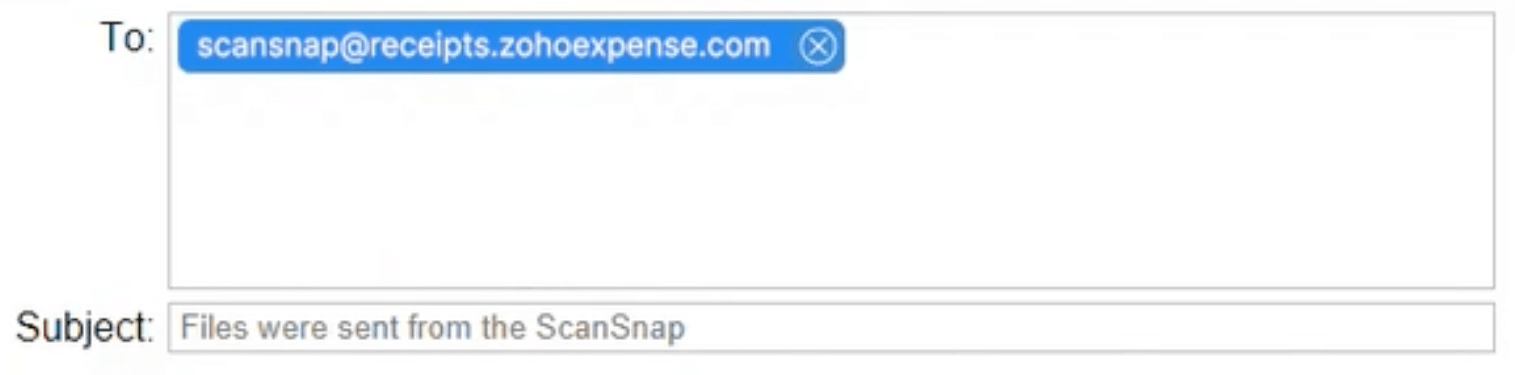
- In the “To” field, enter the email address as scansnap@receipts.zohoexpense.com and in the “Subject” field, enter your email address, e.g. patricia.b@zylker.com.
Note: Ensure to read all the prerequisites that are mentioned.
- Click Save. Once this is done, you can scan the receipts and send them to Zoho Expense.
- To scan a receipt, place the receipt in the ScanSnap scanner, and click the Profile name you’ve created to send emails directly to Zoho. Click Scan. The scanned document will be directly sent to Zoho Expense and the same will be autoscanned and created as an expense automatically.
Protip: ScanSnap can scan 40 pages per minute while maintaining a resolution of 600 DPI.
Note: The ScanSnap scanner does not need to be connected to a computer to send emails directly to Zoho Expense, however, it has to be connected to a Wi-Fi network.
 Yes
No
Yes
No
Thank you for your feedback!