Client Request Details
The client request details page is the hub for collaboration between your accounting firm’s users and your clients.
Once you’ve created and shared client requests with your client, you can track them from the client request’s details page. This details page displays an overview of the client request, and contains a record of all the communication and documents between your client and your organization. You can view information related to your client request such as the client name, the assigned users, due date, and priority in the top pane.
Comments
Comments help you jot down any important information or share documents related to the client request and share them with your team or your client.
Here’s how you can add comments:
- Navigate to the respective client request from the Client Requests module.
- Click the Comments tab.
- If you only want to record information and share it with your team, enter the information and click the Add Comment (Only my team) button.
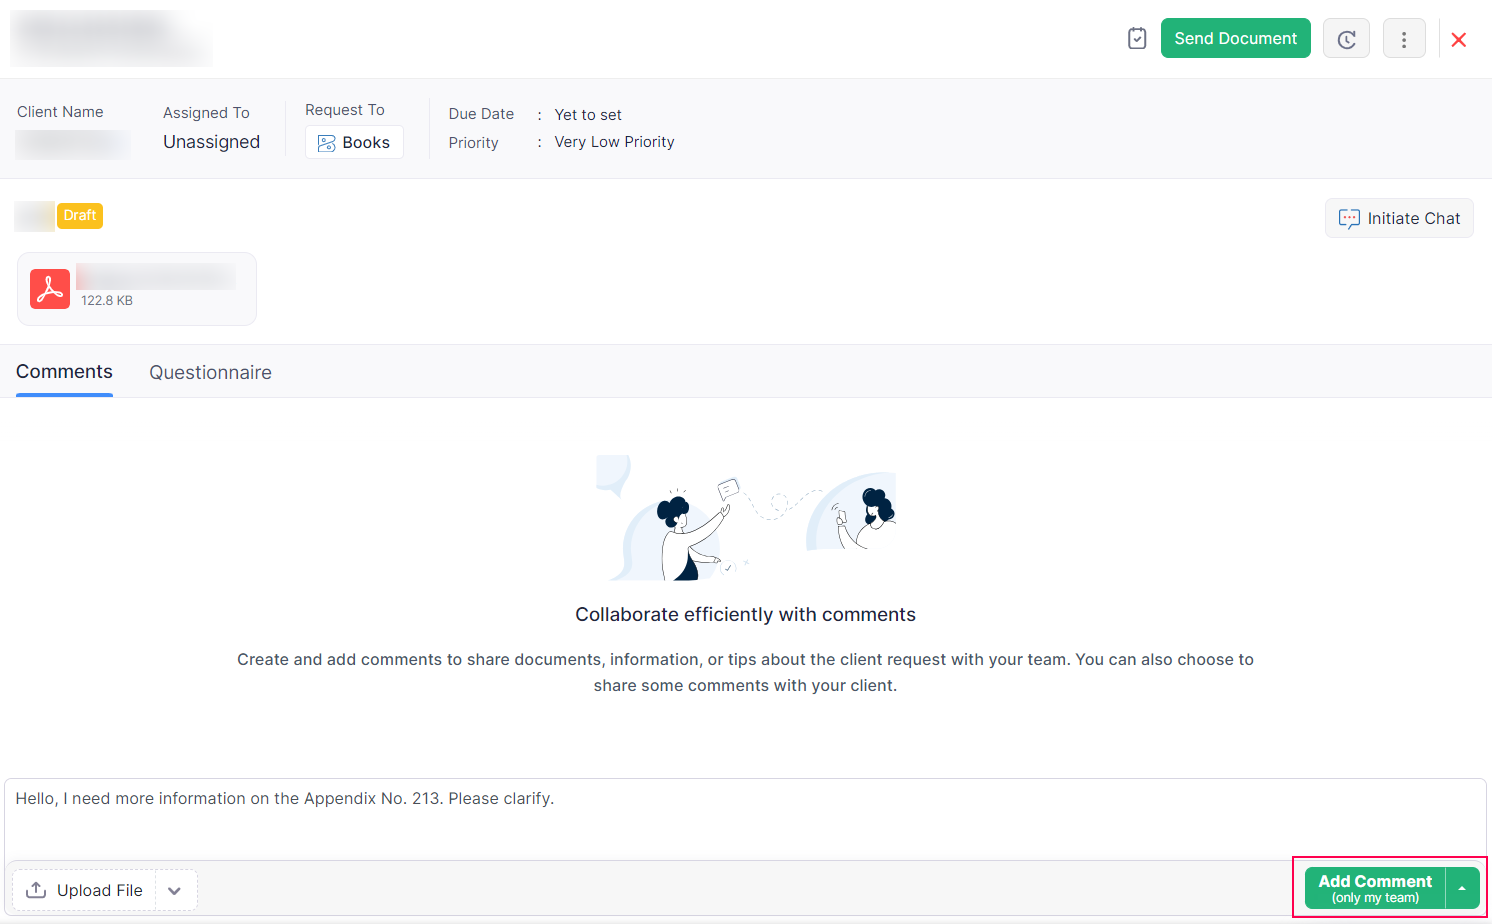
- If you want to share or request information from your client, enter the information and click the Add Comment (Share with client) button.
- Click the Upload File button if you want to share documents or images to your client.
Your clients will be able to view the comments and respond to it from the My Accountant module in the sidebar in the respective Zoho Finance applications. Here’s how you client can access the client request:
- Log in to the respective Zoho Finance application.
- Go to My Accountant from the navigation bar on the left.
- Click the Comments tab.
Questionnaires
Questionnaires enable firms to collect essential client information in a structured and standardized format. This can include financial data, tax-related details, or specific queries relevant to the client request.
Scenario: Sarah, a small bakery owner, seeks assistance from the local accounting firm “Greenway Accounting Services” to prepare her business’s tax return. Greenway Accounting Services uses questionnaires to efficiently gather detailed financial information from Sarah, the bakery owner. Sarah completes the questionnaire, providing organized data about her business’s income, expenses, and transactions. This approach streamlines tax preparation, making the process smoother for both the firm and the client.
Here’s how you can create questionnaires:
- Navigate to the respective client request from the Client Requests module.
- Click the Questionnaire tab.
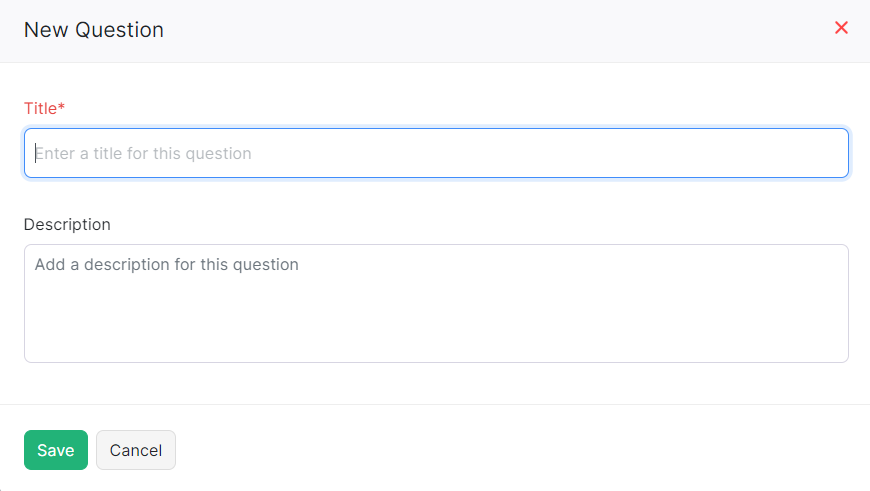
- Click New Question in the right of the top pane.
- Enter the title and description of your question in the New Question popup that appears.
- Click Save.
Your clients will be able to view the questions and respond to it from the My Accountant module in their respective organizations.
Contextual Chat
Your client organization will have different users and staff in charge of different aspects of their finances. For example, you might require records of all the timesheets and invoices from your client’s organization. You will need to request this information from the specific users assigned to these modules.
This is where contextual chats come in handy! You can simply create a contextual chat with the users assigned to the client request and the relevant users from the client’s organization. In this chat group, you can ask questions, get the information you need, and even discuss any issues or questions in real-time.
You can use contextual chats to initiate such discussions and make collaboration a breeze for everyone involved.
Scenario: Your client, ABC Manufacturing, uses Zoho Books for finances. To prepare their taxes, you need specific sales data. You create a contextual chat with ABC’s finance manager, admin and associated users. In the chat, you ask for sales records, and they promptly share the required data files. This streamlined communication ensures you have the right information, making tax preparation a breeze.
Here’s how you can create a contextual chat:
- Navigate to the respective client’s profile page for whom you want to create client requests.
- Click the Contextual Chat icon in the top pane of the client profile.
- Click New Chat.
- Enter a title and select the client organization users that you’d like to add to add to the chat.
- Click Create.
Tasks
You can create tasks right from the client request’s details page. Here’s how:
- Navigate to the respective client request’s details page.
- Click the Tasks icon in the top pane.
- Click the New Task button.
- Enter the required details of the task.
- Click Save.
Activity History
Activity History provides a record of every activity related to your client request. This includes the details of the activity, the associated user, and the time stamp of when the activity occurred. The section serves as a valuable record-keeping section, and can provide insights into the sequence of events and activity related to the particular client request. This is helpful when you want to trace when a particular action was performed or by whom.
To view the client request history:
- Go to the respective client request’s details page.
- Click the History icon in the top pane.
You can now view all the activities related to the client request.