Client Requests - Preferences
Custom Fields
You can use custom fields to receive or record additional information related to the client request that your organization requires. These fields will be displayed in the Client Request’s Creation page.
To create a custom field:
- Click the Settings icon from the top pane.
- Click Client Requests under Preferences.
- Click the New Custom Field button in the Custom Fields tab.
- Enter the required details and configure the custom field you’re creating.
- Click Save.
The custom field will now be visible in the New Client Request popup when you’re creating a new client request. You can also view these fields in the client requests’ details page.
Custom Status
There are pre-defined statuses for client requests such as Draft, Open or Yet to be Pushed. However, if you wish to create other statuses, you can do so by creating a custom status. These custom statuses will have to be created as a sub-status of a predefined status. This means that the new status you create will be replaced by the existing pre-defined status.
Scenario: The default statuses in available in Zoho Practice are Draft, Open, and Yet to be Pushed for client requests. However, you realize that your team needs a specific status, let’s say, Under Review." To add this, you can create a custom status. However, it needs to be linked to one of the default statuses. Hence, you create a custom status, Under Review as a sub-status of Open. This way, when a task is under review, it will still be categorized under the broader Open status, maintaining the workflow while accommodating your team’s unique needs.
Here’s how you can create custom statuses:
- Go to Settings from the top-right corner of the page.
- Select Client Requests under Preferences.
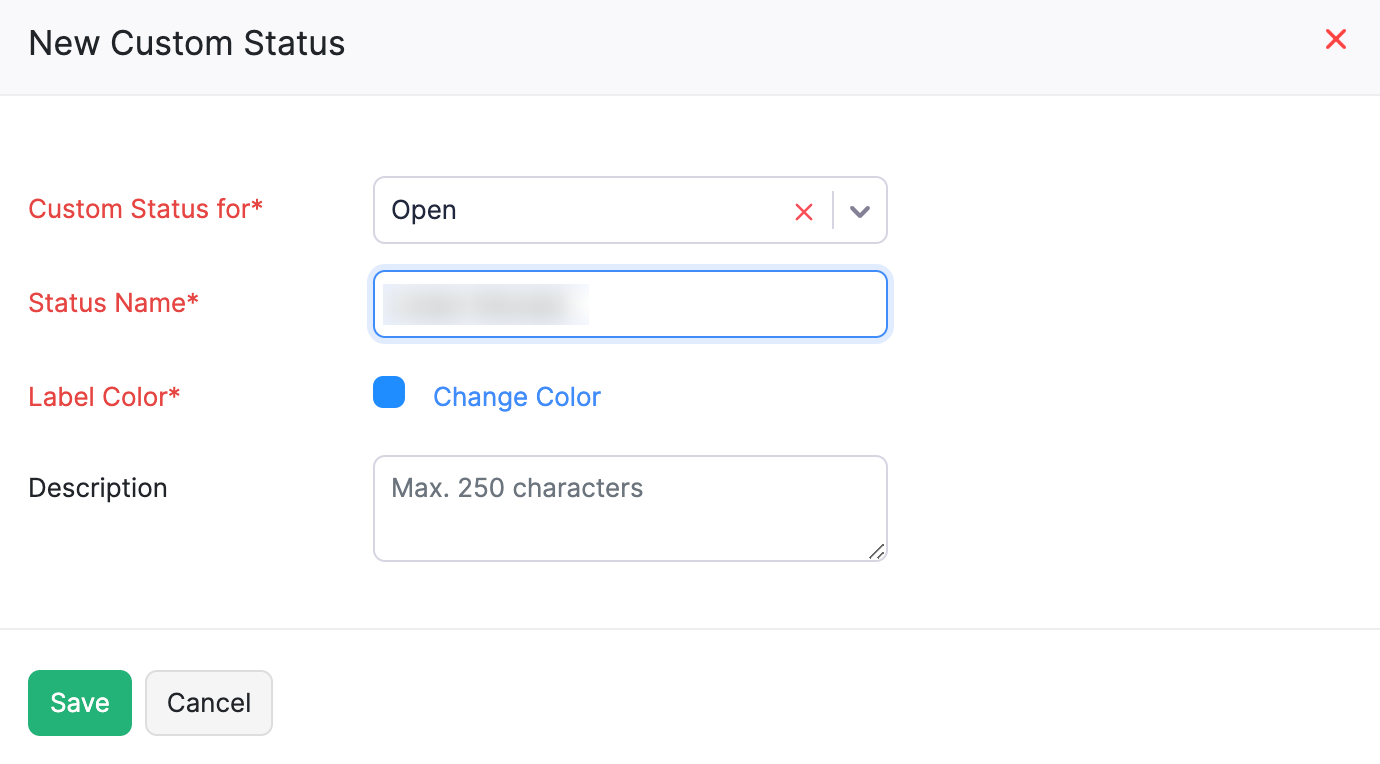
- Click the New Custom Status button in the top-right corner of the page.
 4. Select the status for which you want to create this sub-status in the Custom Status for field and enter the Status Name.
5. Click Save.
4. Select the status for which you want to create this sub-status in the Custom Status for field and enter the Status Name.
5. Click Save.
Note: If you create a sub-status under Completed, and a particular client request’s status is set to Completed, then no notifications will be sent for that client request as it will be considered as completed.
Insight: Only the admins, the assigned user, or the user who created the client request will have permission to change it’s status.
Manage Permissions
You can choose the level of permission you wish to give your users. By default, only admin users will have full access. The admins will have to provide access to the other users, after which other users will be able to see the tasks assigned to them. To configure permissions and access:
- Go to Settings from the top-right corner of the page.
- Select Roles under Users and Roles.
- Select the role that you want to set the permission for.
- You can choose to configure View, Create, Delete or Edit access permissions or choose Full Access which provides all the permissions to your users.
- Click Save.
The pre-defined roles in Zoho Practice cannot be edited. You can configure the roles you’d like to have in your organization by creating new roles. You can also clone an existing role and edit the permissions to create a new role.