Basic Functions in Time Tracking
The Time Tracking module helps your users track the time spent working on tasks. You can then create time entries for their tasks and bill your customers based on the same.
New Time Entry
You can log time for each task in two ways:
- Log Time Manually
- Start Timer
Log time manually
You can log time manually in two ways:
- Log time for an individual task
- Weekly time log
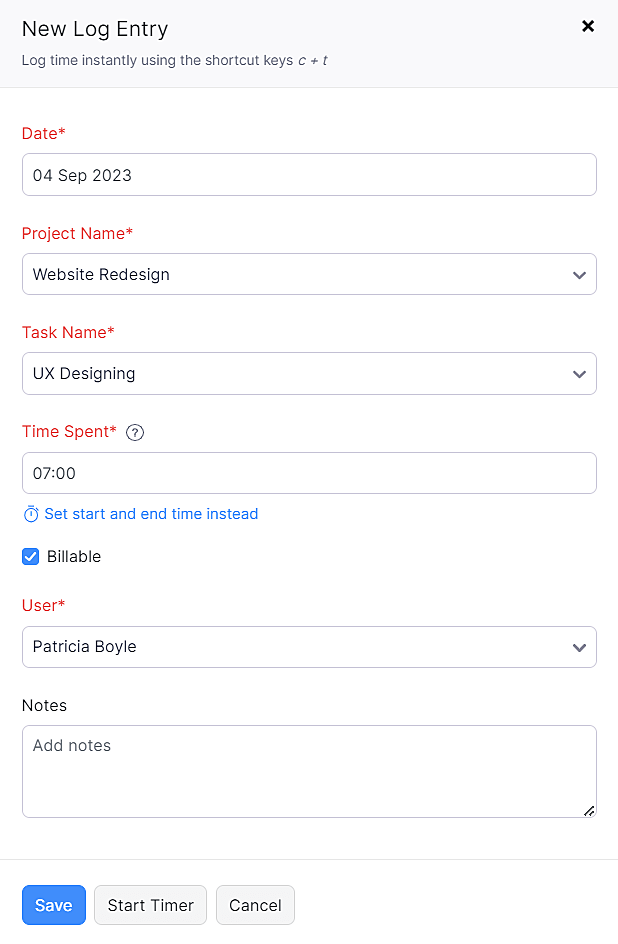
Log Time for individual task
You can log time spent on performing an individual task manually. Here’s how:
- Go to the Time Tracking module.
- Click Log Time in the top-right corner and from the dropdown, select Log Time again.
- Enter the Date.
- Select the Task or create a new task from the dropdown.
- Enter the Time Spent and the other necessary details.
- Click Save.
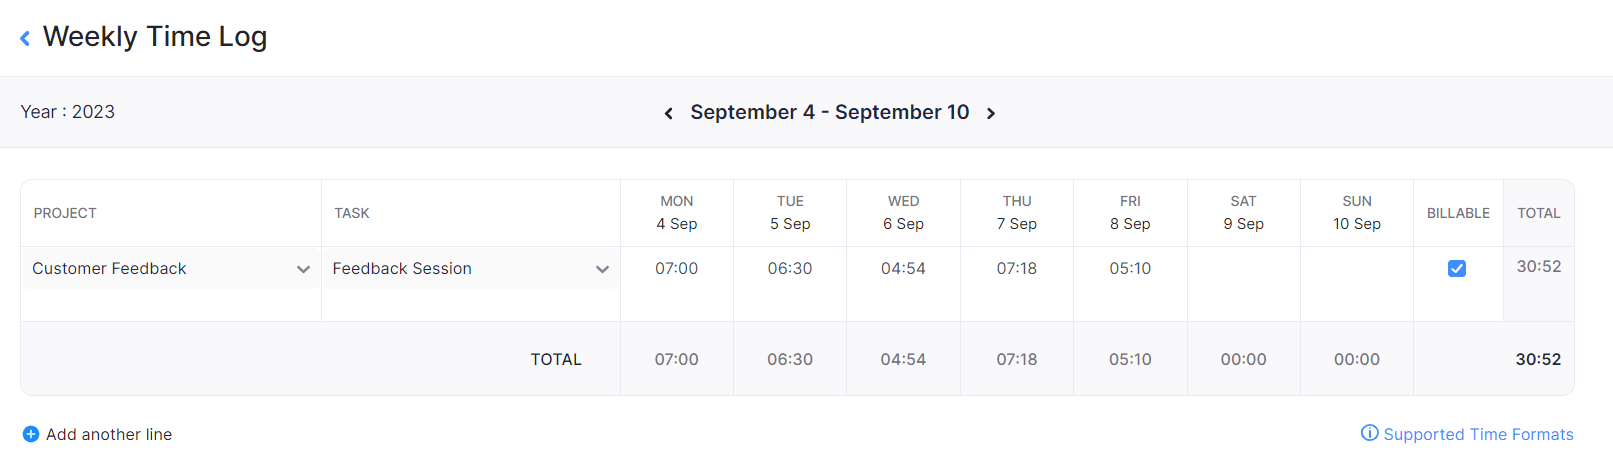
Weekly Time Log
This feature is highly useful if you run multiple tasks and have manually recorded time for various tasks done over a week. To log time:
- Go to the Time Tracking module.
- Click Log time > Weekly Log.
- Enter the manually recorded time for various tasks done for multiple tasks for the days in the week.
- Select the task and enter the time spent.
- Add more tasks by clicking Add another line.
- Mark the Billable checkbox to add this entry to the invoice and bill the customer.
- Click Save.
You can also remove a line which does not have any time entry by clicking the Remove icon next to the row.

You can view the weekly log in the calendar view by clicking the Calendar icon.
Start Timer
You can log time instantly using a timer and associate a task with it. Here’s how:
- Go to Time Tracking.
- Click Start in the top right corner of the page.
- Enter Notes for the entry.
- Click the Associate Task option to link it with a task.
- Click Start Timer.
- The timer will run on the left sidebar and you can choose to Stop, Pause or Discard the entry.

Once you stop the timer, you can enter the task details.