Manage Timesheets
The timesheet that you record for your customers can be filtered and sorted in many ways.
Filter Timesheets
You can filter time entries based on their period, client, or user.
Let’s see how to filter timesheets based on statuses:
- Go to Time Tracking.
- Navigate to the View By section in the top pane of the page.
- Select the status based on which you want to filter the timesheet.

Similarly, you can filter the other columns as well.
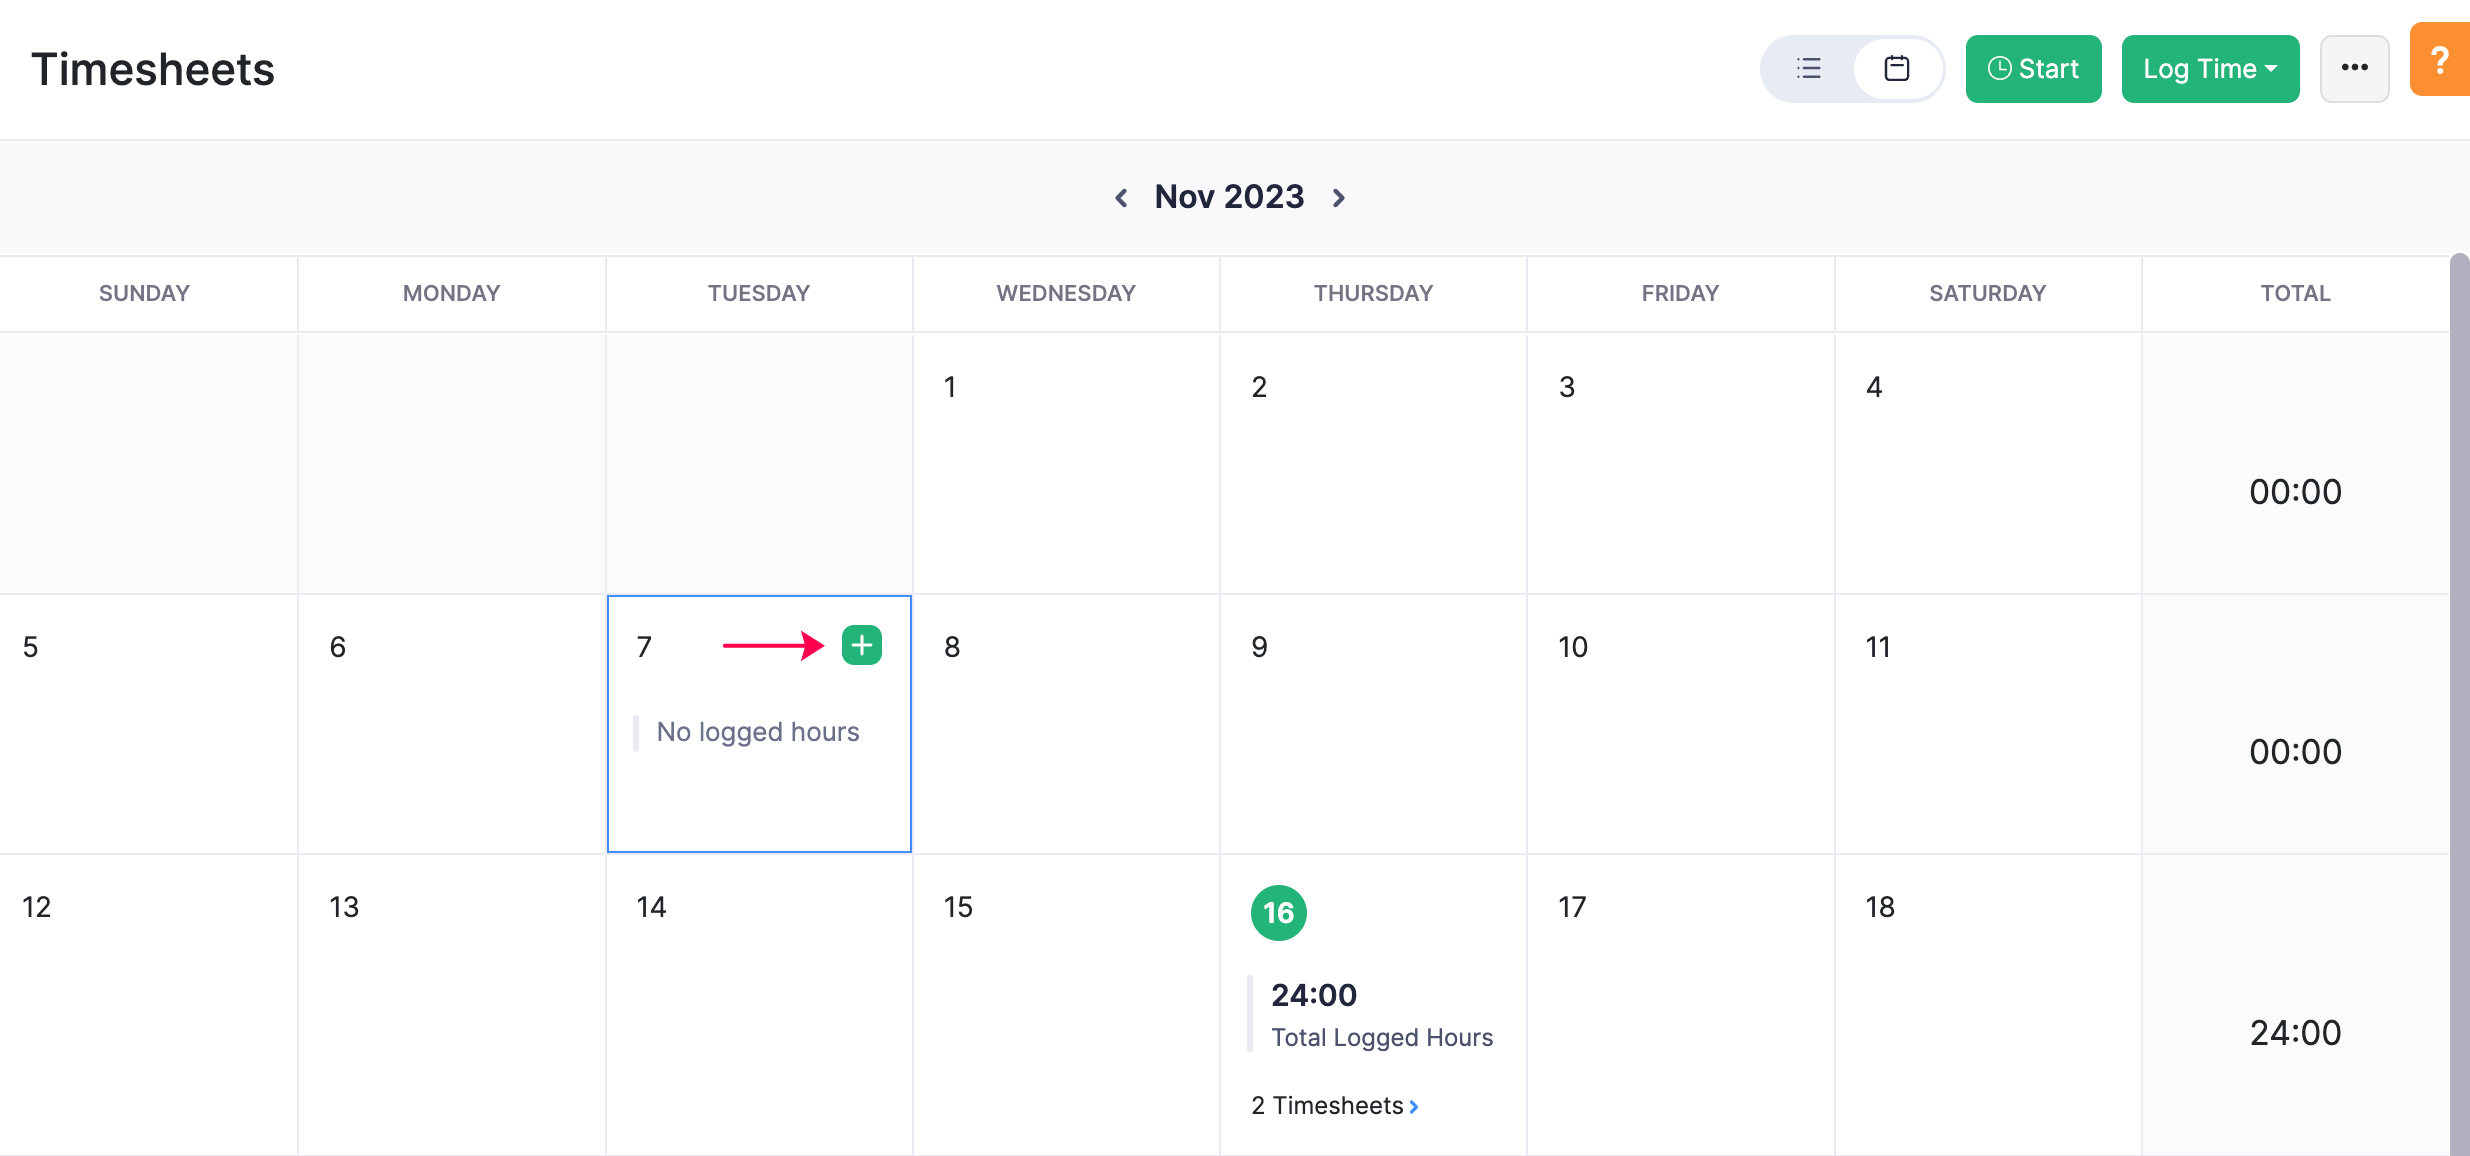
Calendar View
You can view the timesheet in a list view as well as in the Calendar View. The calendar view shows the tasks performed and the hours spent on that particular task in a calendar format. You can also add a new entry for a particular day.
To view your timesheet in the Calendar View:
- Go to Time Tracking from the side bar.
- Click the Calendar icon in the view toggle option in the top pane of the page.
To add a new time entry:
- Hover over the date on which you wish to add a new entry.
- Click the New Entry option.
- Enter the Task Name, Time Spent and the User.
- Click Save.
You can also view the number of timesheets created in a particular and their details by clicking the timesheets.

To edit the time entry:
- Click the time entry.
- Edit the required details.
- Click Save.
Insight: You can view the total number of hours spent on that particular month at the bottom of the page.